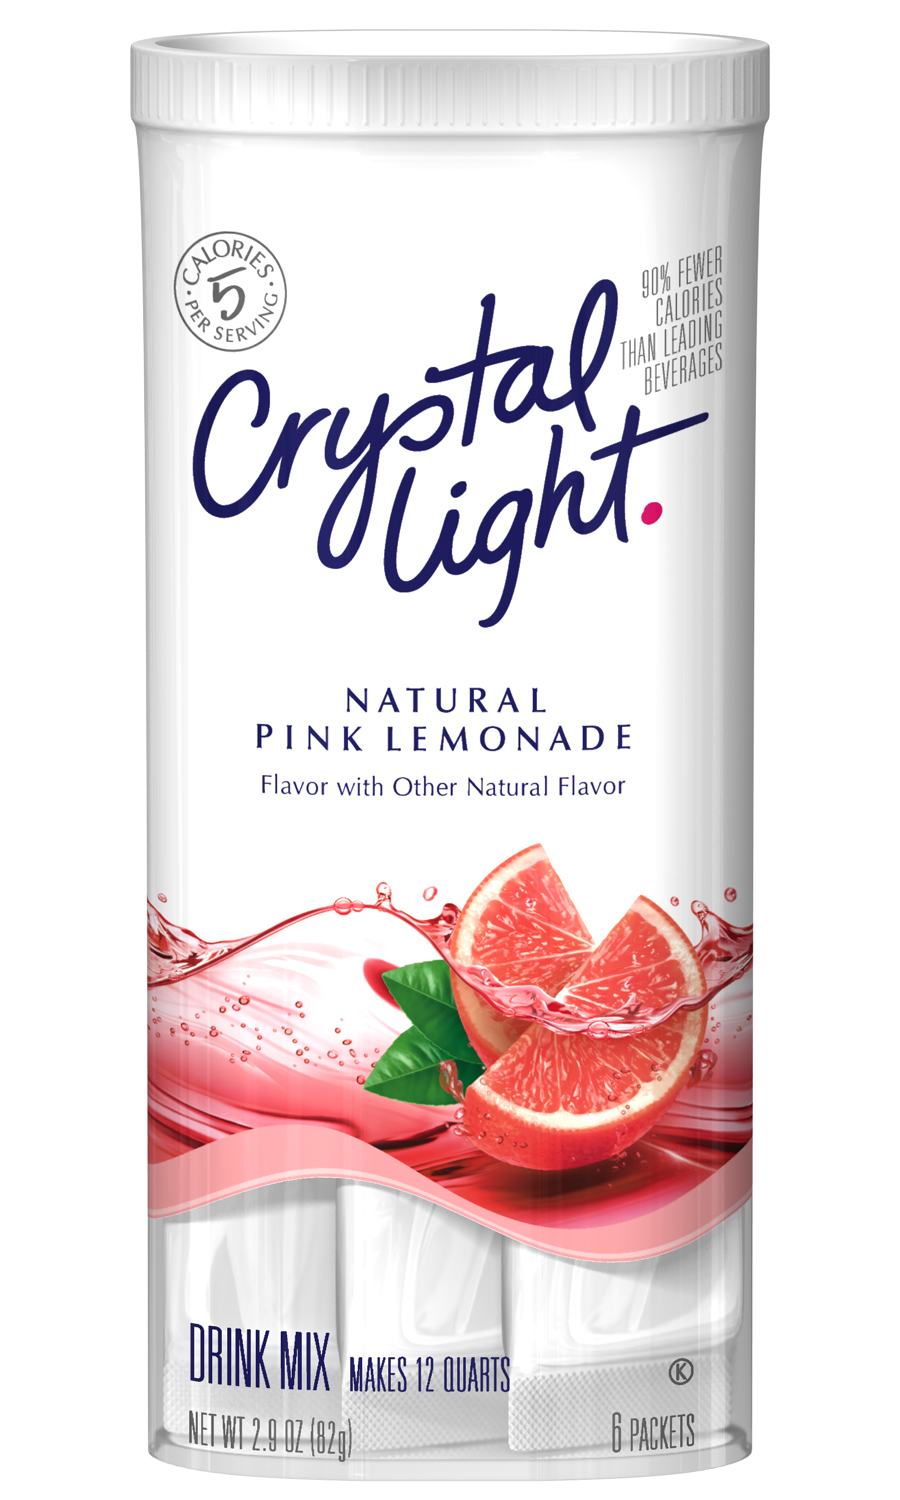
Are you looking for a fun and easy project to do for Christmas? If you’re working on a budget, you can reuse household or other free items to decorate for gifts. In these two tutorials, we will decorate Crystal Light containers to be used as pencil cases and we will use cheese sauce cans as decorative canisters for baked goods.
Gather Your Supplies
For this project, you will need:
- Crystal Light and/or 1-gallon cans with lids
- Spray Primer – I recommend Rust-Oleum Ultra Cover Primer
- decorative paper – you can use wrapping paper or scrapbooking papers (12-inch square sheets)
- Spray Adhesive – I recommend the 3M Super 77 Multipurpose Adhesive. I chose it at Home Depot and was pleased with it, though the spray nozzle was messy.
- Mineral spirits to remove the spray adhesive from your sticky fingers
- Decorative Ribbon, bows, or other cute decor to glue onto your cans and canisters
- Hot glue gun and lots of extra hot glue sticks
Crystal Light Canisters
I don’t drink soda and therefore use a lot of Crystal Light. I also have an aunt that always has a pitcher of Crystal Light in her fridge. I have been collecting the containers all year. By the end of the year I had around 20 containers from two households.
#10 Cans
A #10 can is about the size of a 1-gallon bucket of paint.
Here’s a quick can size tutorial from Wikipedia:
Can sizes in the United States have an assortment of designations and sizes. For example, size 7/8 contains one serving of half a cup with an estimated weight of 4 ounces; size 1 “picnic” has two or three servings totaling one and a quarter cups with an estimated weight of 10½ ounces; size 303 has four servings totaling 2 cups weighing 15½ ounces; and size 10 cans, most widely used by food services selling to cafeterias and restaurants, have twenty-five servings totaling 13 cups with an estimated weight of 103½ ounces (size of a roughly 3 pound coffee can). These are all “U.S. customary” cups, and not equivalent to the former Imperial standard of the British Empire or the later Commonwealth.
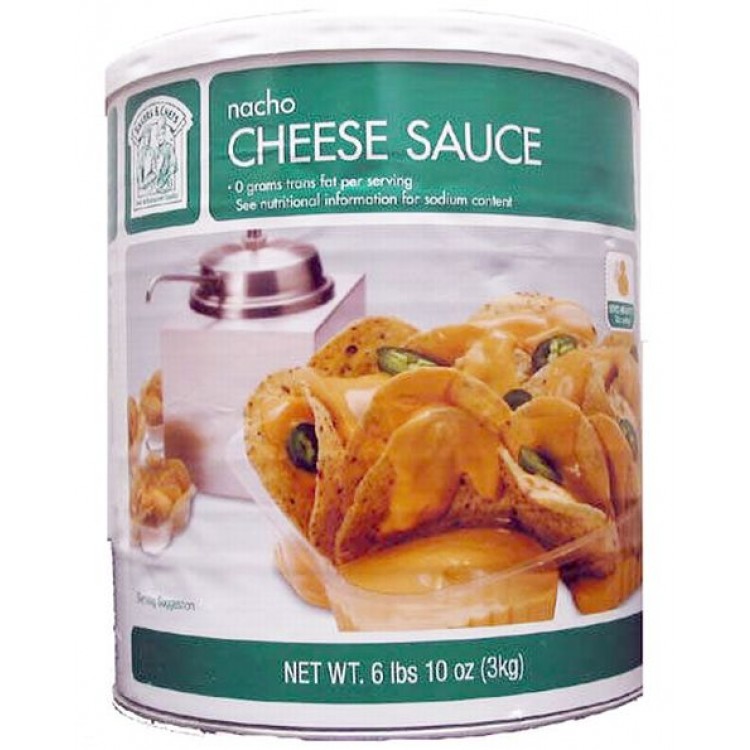
I used to work in a restaurant and still have friends at that local restaurant. I happened to know that this restaurant sells a LOT of cheese sauce to be used on cheese fries and such and that the cheese sauce came in cans similar but not exactly like this:
I asked a friend to rip off the labels, wash the cans in the restaurant dishwasher, and save the cans and lids for me. In a couple of weeks I had over 20 cans. If you don’t have access to free restaurant supplies, you can buy cans. For example, Amazon has 1 gallon paint cans without handles. This example is 24 cans for around $50.
Prepping Your Cans and Canisters
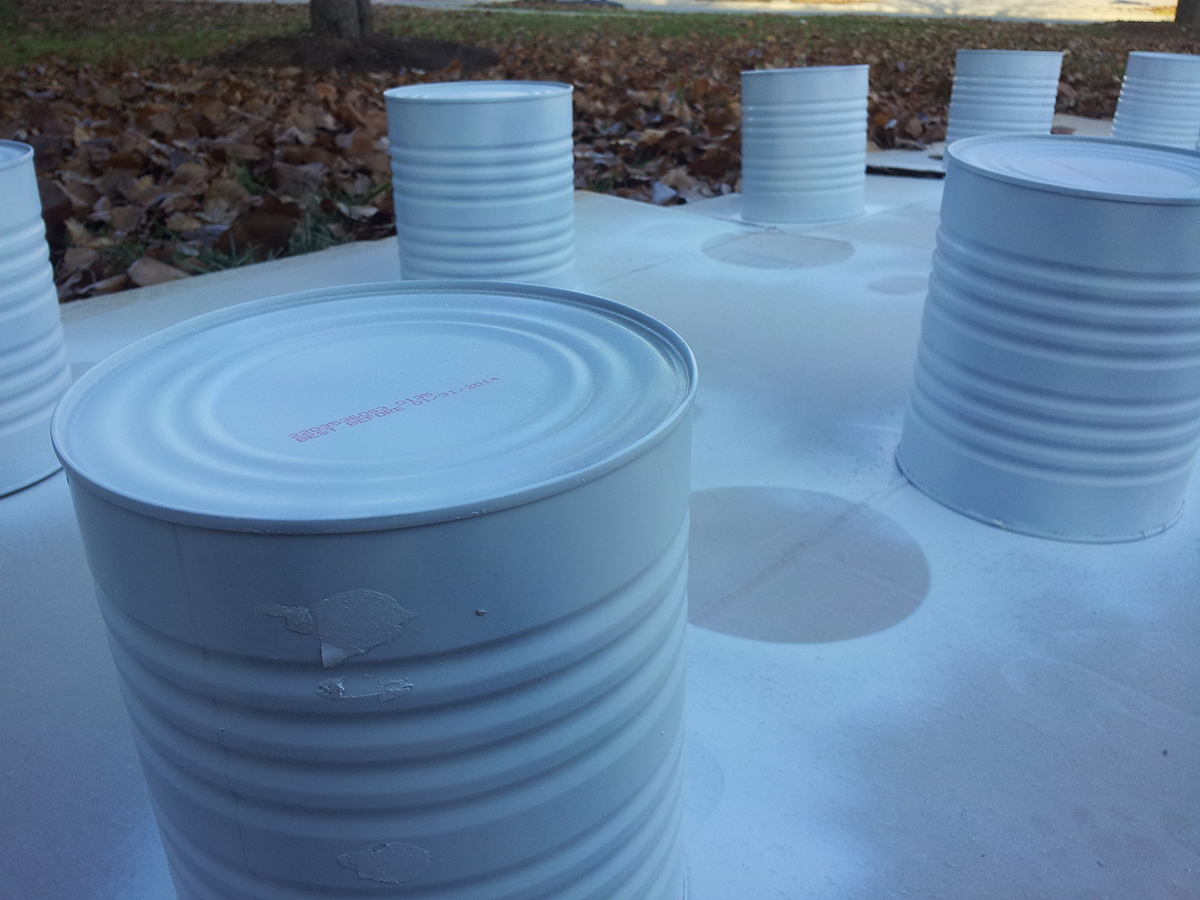
Once you have all of your cans and canisters gathered up, you need to prep them. Make sure they are clean. Depending on how you are decorating them, you may or may not need to make sure all of the glue and labels are removed. Spread out your cans, canisters, and lids on a piece of cardboard outside and get two good coats of primer on them.
I like the Rust-Oleum primer a lot. It has great coverage and bonds to plastic. One coat does a great job, and after the second coat you can’t see anything through the paint.
Make sure you have appropriate weather for the paint to set properly. Read the can. The Rust-Oleum Ultra Cover Primer says to use it outdoors or in a well-ventilated such as an open garage. It says to use when the temperature is between 50 and 90 degrees Fahrenheit with a humidity below 65% to ensure proper drying.
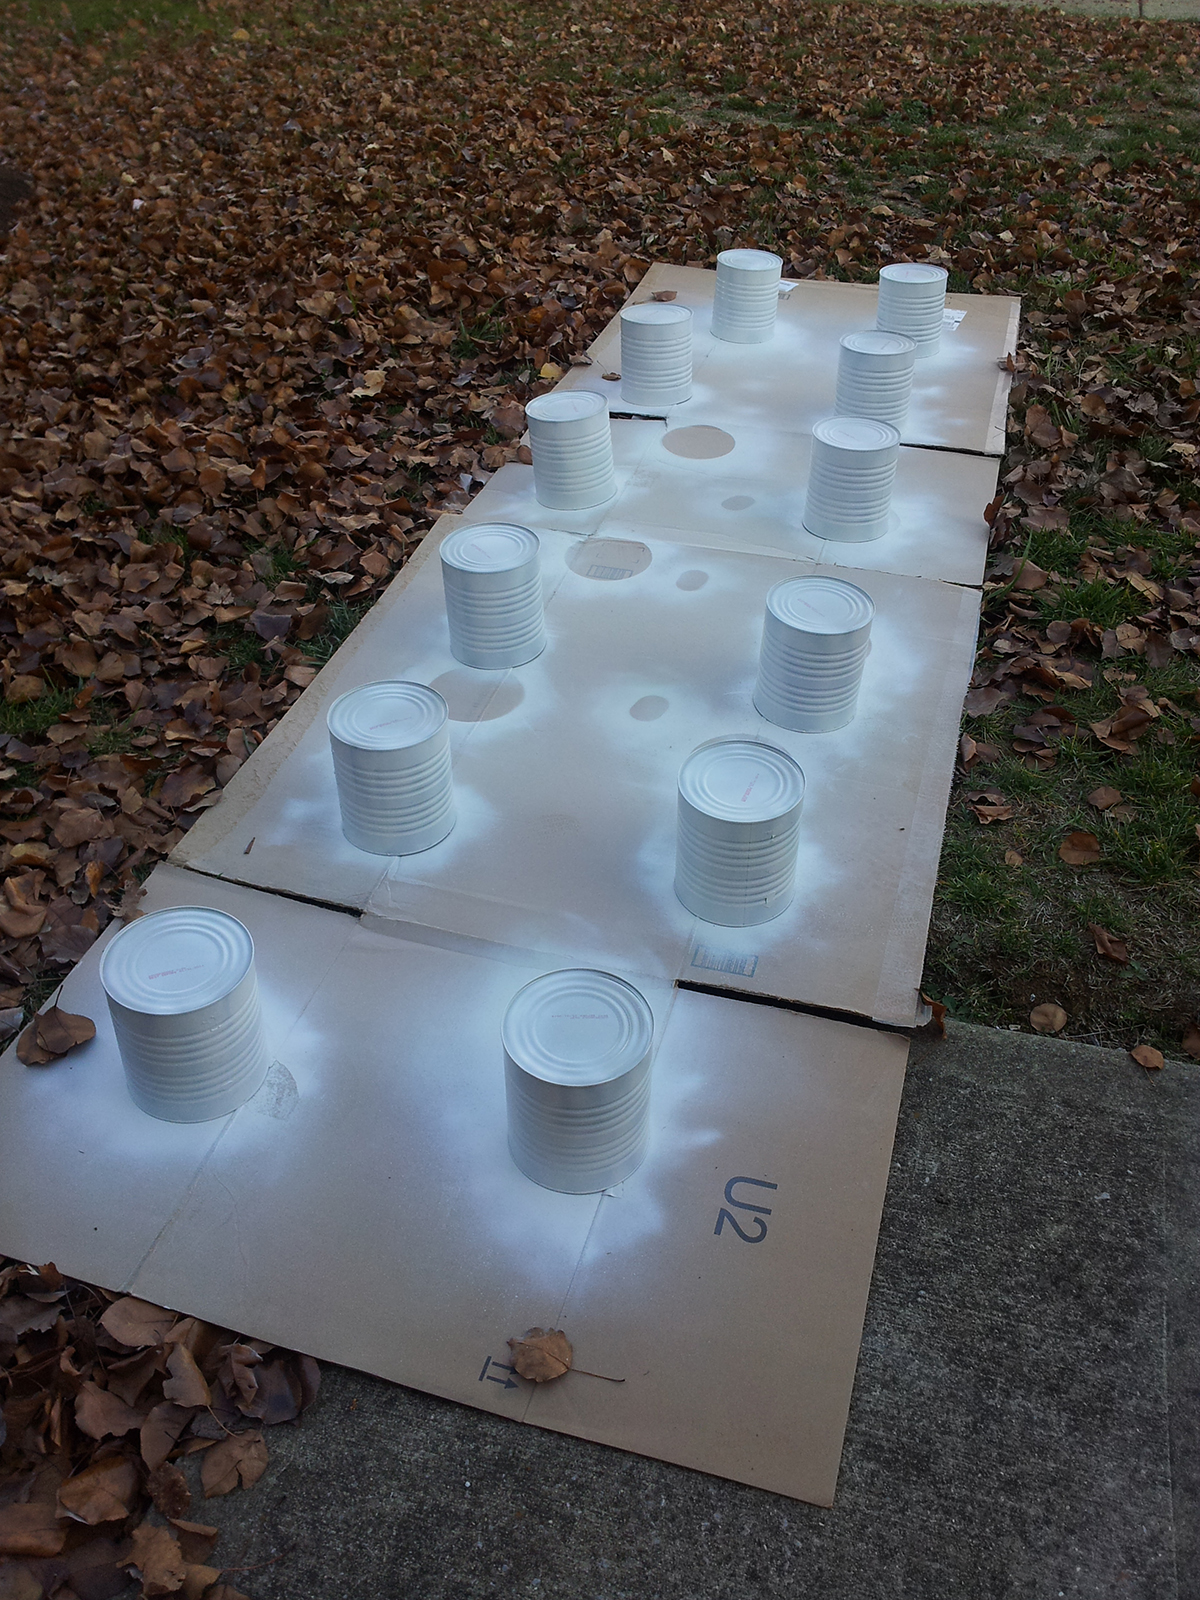
Here you can see that I didn’t worry about the glue spots where the labels had been attached to the can. These didn’t come off in the professional dishwasher and since they would be covered with paper, I didn’t take the time to remove them.
Give your cans, canisters, and lids proper time to dry between and after your coats. In the 50-60 degree December days when I was priming my cans and canisters, I turned on a space heater in the garage and let the paint dry overnight at 70 degrees.
Paper-Wrap
Note: If your paper is too thin, it might tear. If it is too thick, it might not wrap around your canister and stick.
Before you can begin wrapping your cans and canisters, you’ll need to measure the cans/papers. For example, I bought 12×12 inch craft paper from Michaels and it took 2 sheets to do each can. However, the leftover paper decorated 2 Crystal Light canisters.
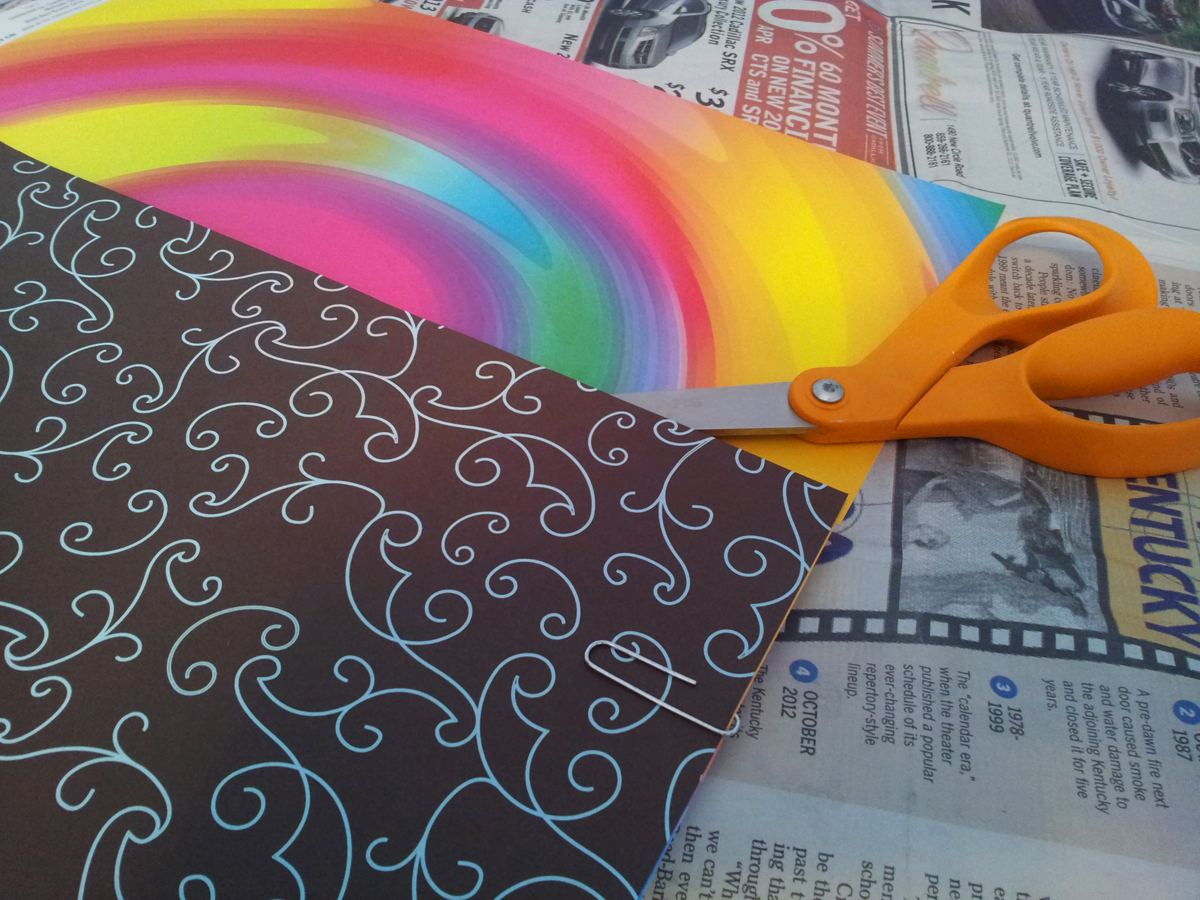
Take one can and one canister to your craft area. Carefully wrap your paper around the can and cut the paper to the size you need. I recommend beginning with a geometric-patterned paper so that you can make sure your cuts are very, very straight. After carefully measuring and cutting the paper for your first can, use that paper as a pattern for cutting the other papers.
Once you have all of your paper prepared, you will use the spray adhesive to attach the papers to the cans and canisters. Prepare a well-ventilated work area such as an opened garage. Place several cardboard boxes or lots of newspaper down in a large and open area. If you are working outside, make sure that leaves, cut grass, or other debris won’t be blown onto your cans and canisters. Make sure all of your cans, canisters, and cut papers are easily available.
To begin, check your first can and make sure there is nothing stuck in the paint on the can (like a bug!). Have something like an extra can to place your working papers and cans on so that they are not on the sticky cardboard. Lay the paper face down and spray the back. Then carefully pick up the paper, turn it over and slowly place the paper on the can, smoothing it gently with your non-sticky fingers. The goal is to have the paper straight and for patterns to match up on the seams. This applies mainly to horizontal striped patterns, as it would be difficult to match other patterns perfectly.
Complete all of your cans, then do the same for all of your canisters.
Allow the glue on your cans and canisters to set at least 24 hours.
Add Decorative Touches
Use your coordinating and matching ribbon and decorative touches to finish your cans. Paint your lids using craft paint. You can hand-paint designs or just use coordinating colors. I used the remnants of the decorative paper to make gift tags.
Additionally, you can fill your decorated cans with gifts, such as baked goods. Here is the Microsoft Word Document and the PDF of the recipes I used in my decorated cans. The blank area is where I put personal information to give to my friends and family.
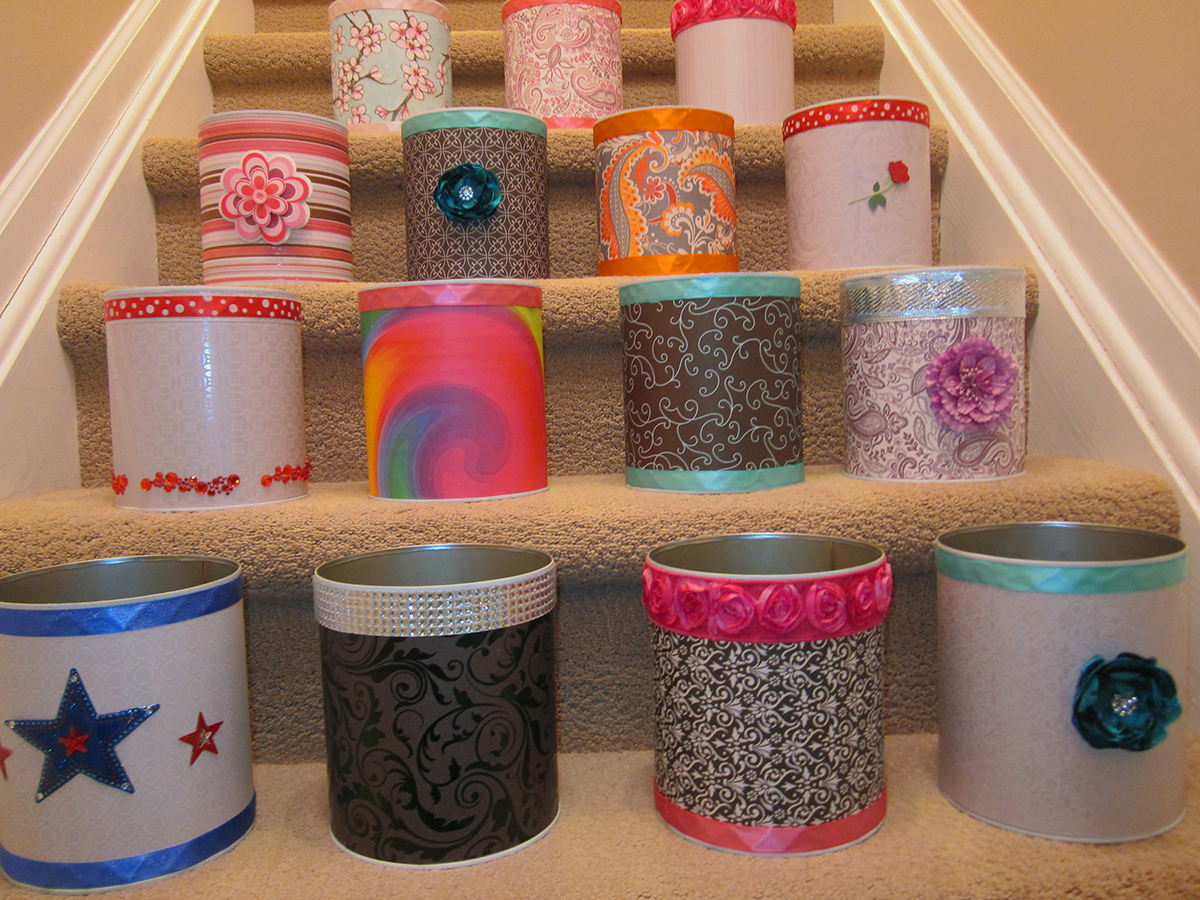
Here are some photos of my finished cans and canisters to inspire you.

