Why would I do this? – You may be asking. First, if you’re a programmer, this is a cheap development machine. Second, if you’re in the market for a cheap 7″ Android Tablet, here it is.
The Nook Color is now a $139 7″ Android tablet.
The Nook Color comes preloaded with the Nook Android iOS. Yes, it comes loaded with and Android OS, but Barnes and Noble chop it off at the knees. You can only buy B&N apps at the B&N store. I”m happy to give B&N my business by installing the Nook app and buying Nook books. But I want more from this device. It’s time to root this gadget and turn it into a full-fledged Android tablet.
What do I need? You need a NOOK Color tablet. And you need 2 Micro SD cards. One for rooting and one for everyday use. I recommend getting a 16GB and a 32GB, though I do believe that you can run up to a 64GB. Do some research and be sure, just in case. I also read that for this device you need a Class 4 card. That may have changed, so if you want a faster card, do some research. This one and this one work for sure, though.
Tip of the hat to You Tube user huskymania. His video is what got me started and is responsible for most of the steps I used. My links are more recent.
#1 – Download the Files necessary
Download these files and save them to your desktop:
7-zip
7-zip
If you don’t already have 7-zip or any other zip utility with support for .tar and .gz files, go get it and install it.
win32diskimager-binary.zip
https://launchpad.net/win32-image-writer/0.6/0.6/+download/win32diskimager-binary.zip
Image Writer for Windows is free software used to make your MicroSD card a bootable drive.
(Get the latest version HERE)
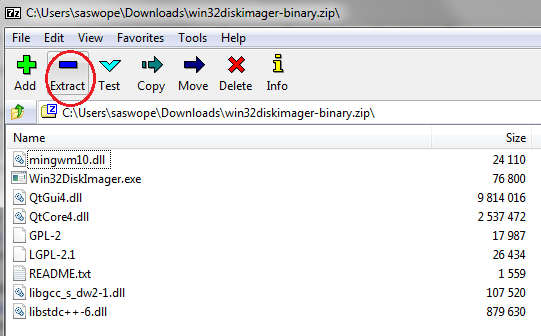
- Download and click on the zip file. It should open in 7-zip. Extract the files to your desktop. Put them in a new folder named Win32.
8gb_clockwork-3.0.2.8.img.gz
http://monster-rootpack.googlecode.com/files/8gb_clockwork-3.0.2.8.img.gz
ClockworkMod is the software that provides a framework to install the rooted Nook Color features. The link includes several different sizes, which are intended to be used depending on the size of your microSD card. The file named 128mb_clockwork-0.7.tar.gz will work just fine.
(Get the latest version HERE)
- Download and click on the .gz image file. It should open in 7-zip. Extract the file to your desktop.
http://download.cyanogenmod.com/get/update-cm-7.1.0-encore-signed.zip
gapps-gb-20110307-signed.zip
http://goo-inside.me/gapps/gapps-gb-20110307-signed.zip
These are the Cyanogen Mod and the Google Apps Pack. According to the Cyanogenmod page, this is the current and stable build as of today (12/1/12)
- Download and go to your downloads folder. Copy both zip files to your desktop.
#2 – Image your SD card
Insert your SD card into the card reader on your computer.
When the auto-read windows pop-up appears, choose to open the file to view. If there are files on your SD that you want to keep – copy them to your computer. Then format your disk. You can do this by going to My Computer and locating the SD card. Right-click on it and choose Format. Do a quick format.
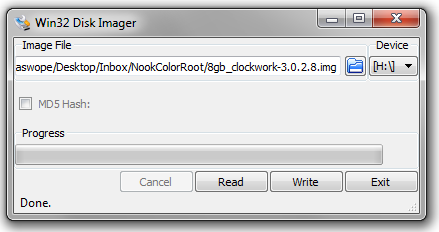
Go to the Win32 folder on your desktop and double-click on Win32DiskImager.exe. When the program opens, you will see a box like this:
In the Image File box, click on the little blue file, then navigate to your desktop and the image file that you downloaded and unzipped. (In the example above it is the 8gb_clockwork-3.0.2.8.img file.)
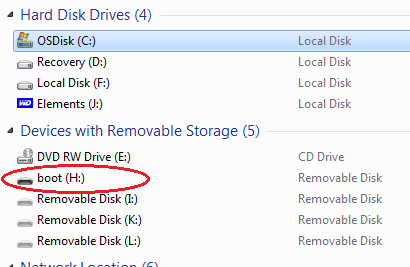
To the right of the blue folder, you will see a drop-down where you can choose your device. If you don’t know which drive your SD card is, go to My Computer and locate it.
Then click the Write button. This process will take some time. In my case it took over 20 minutes. When the process is complete you will see a pop-up notification that it is done and the Done status will appear in the box as shown above.
#3 – Copy your ROM and Google Apps pack to the card
Minimize your Win32 Disk Imager (by clicking the dash on the window).
Open your SD card by going to My Computer and double-clicking on the disk which has probably been renamed to root.
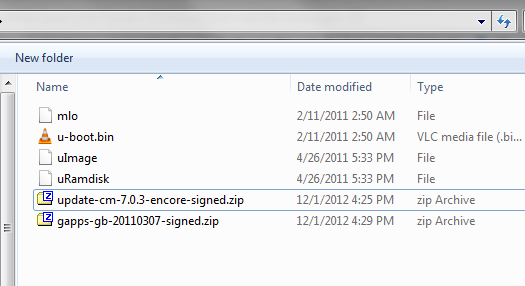
Then copy the update-cm-7.0.3-encore-signed.zip and the gapps-gb-20110307-signed.zip files to the SD card. When it is complete, it should look like this:
Then remove the SD card from your computer.
#4 Install on your NOOKColor
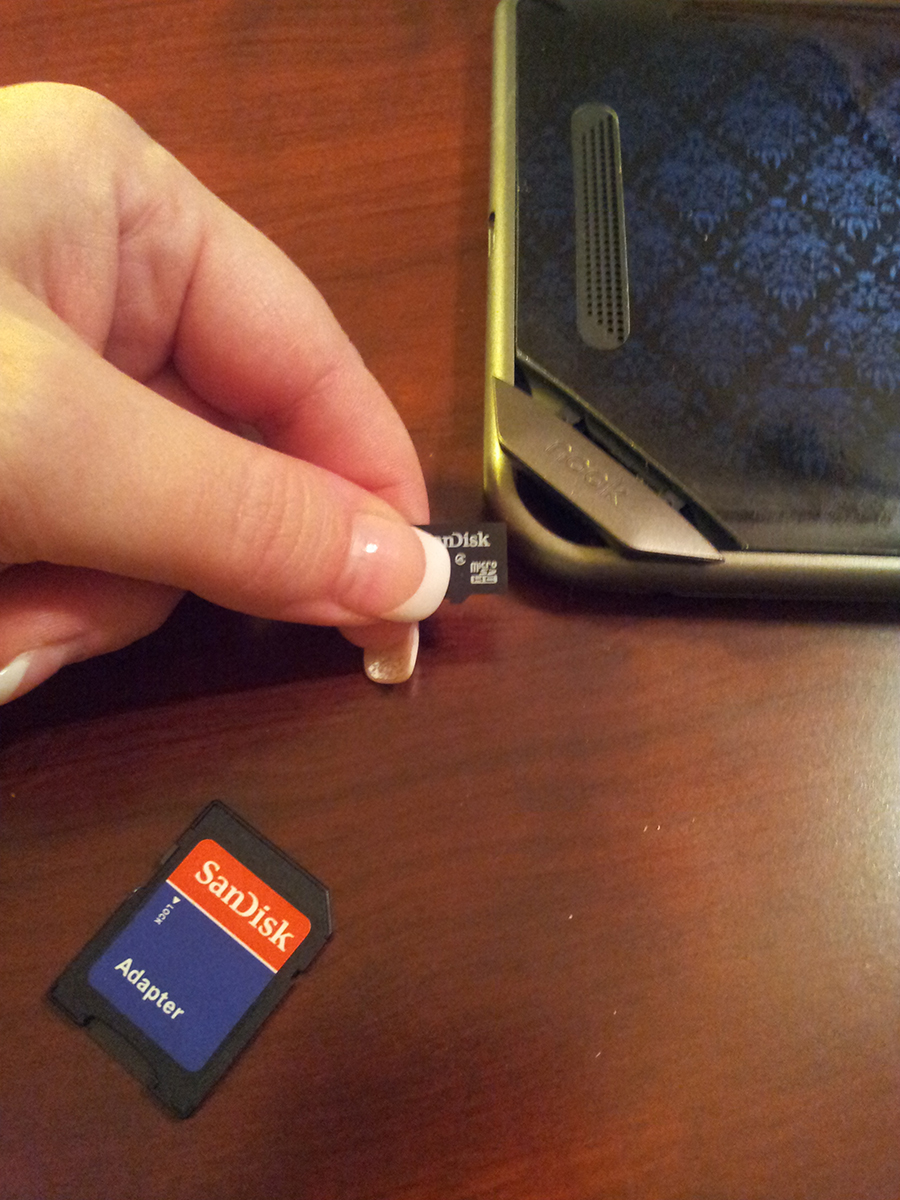
Make sure you’re Nook is turned off and insert the MicroSD card.
Press and hold the power button until you see the word LOADING with 2 skull and crossbones. Then release the power button.
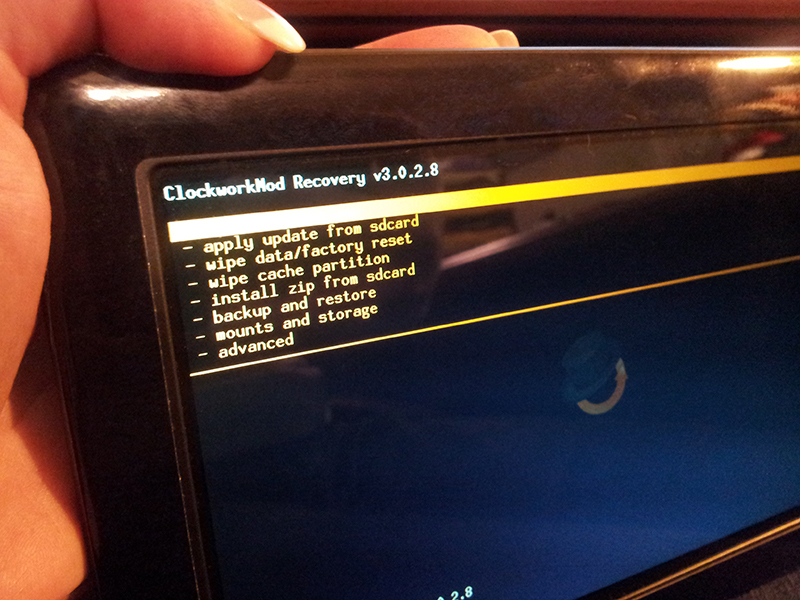
Your Nook will continue into the recovery mode and you will see a screen like this:
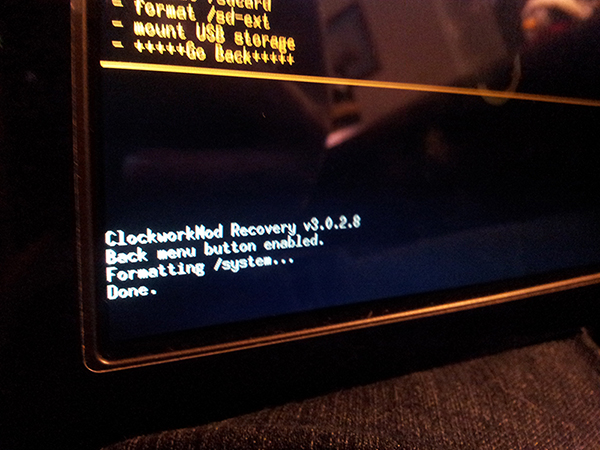
You will use the volume buttons to go up and down in the menu and the nook home button to select your choice. Scroll down and select mounts and storage.> format /system > Yes – Format. After formatting you will see the Done status on your screen.
Then follow the same steps to format /data > Yes – Format.
Then follow the same steps to format /cache > Yes – Format.
Then tap the power button to return to the MOD main screen.
Now install zip from sdcard > choose zip from sdcard > update-cm-7.1.0-encore-signed.zip. (Make sure you do this one before installing the Google Apps.)
This step could take a while. Expect around 2 minutes. You should see the status: Install from sdcard complete.
Now choose zip from sdcard > gapps-gb-20110307-signed.zip.
Remove the microSD card.
#5 Reboot the Nook
Now click the power button to return to the MOD main screen and select reboot system now.
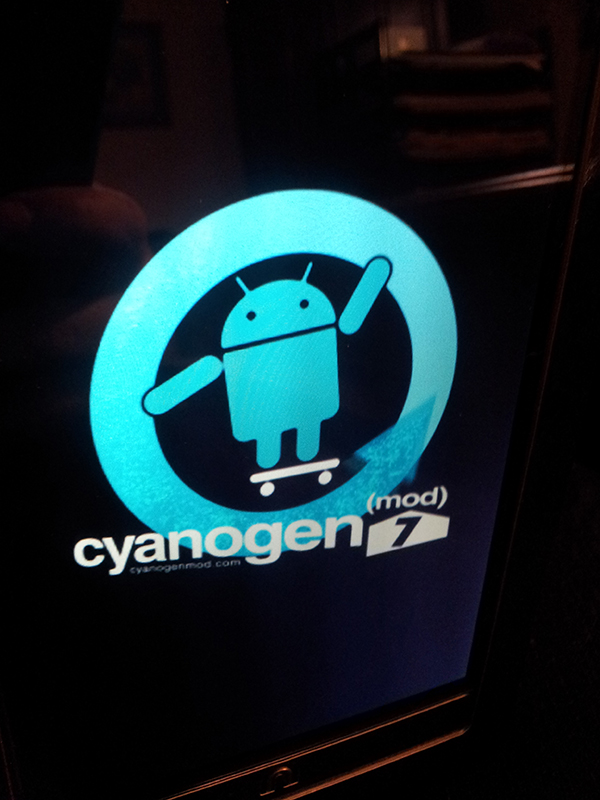
Soon, you’ll see the cyanogenmod 7 logo.
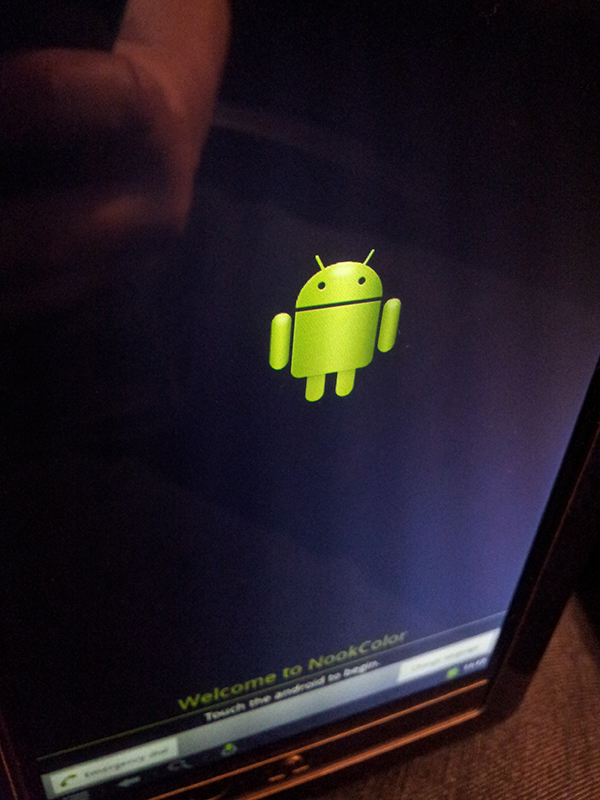
Tap the little green Android when he appears.
For now, Skip signing into your Google Account. It can’t authenicate until you connect your wifi. So make your Location Settings choices and hit Next and select your time zone. Then hit Next.
#6 – Settings
You are now on the home screen. Click on the App Drawer icon, which is in the center of the tray at the bottom of the screen. Then go to Settings.
Go to Wireless & Networks and connect to your wifi network.
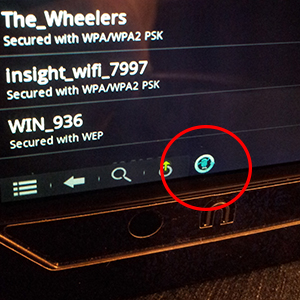
After you connect to your wireless, you are going to see this little guy at the bottom of your screen:
Touch him and drag up to see the notification. CyanogenMod wants to save anonymous statistics. Tap on that white notification. You can uncheck reporting if you like. Then tap Save Preference. Now you won’t get that notification again.
#7 – Install Google Apps
Now tap the Nook button to go to the home screen and click on the App Drawer icon, which is in the center of the tray at the bottom of the screen. Then go to Market. Now go through the steps to add your Google account. Tap OK on the warning then choose which Google apps you want to install then tap OK. Accept the Android Market Terms of Service.
You will then be prompted to download the apps individually.
Decide if you want to use Google backup services.
You are now finished with your Google Apps Setup.
Now go back to the App Drawer and tap on Market again and update it to Google Play.
#8 – Install YOUR Apps
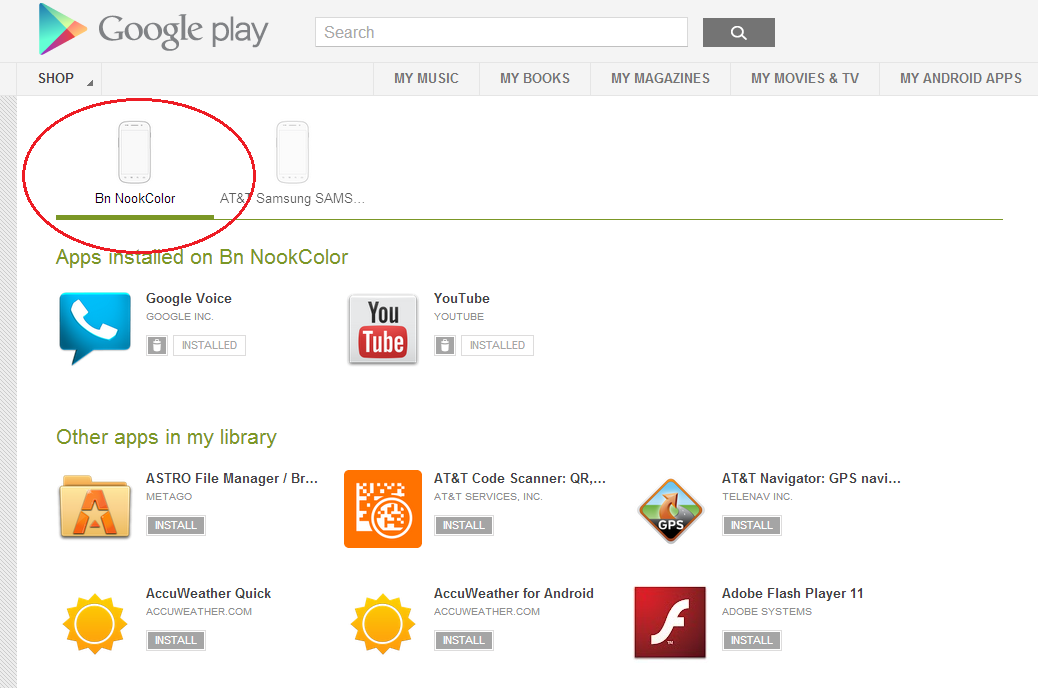
NOw go to Google Play to get apps for your NOOKColor.
You will see your NOOKColor and any other Android devices you have registered. You can also see all of the Android apps you have ever downloaded. So start loading up your NOok!
Done!
Now go have fun. I’ll do an update at some point soon to let you know how it’s working for me.
Tiny Icons
Are you bothered that your icons are so tiny? It’s because the default icon size for the NookColor is 160px.
To fix it, download Root Explorer ($3.99). Once it downloads, open it, then tap the Mount R/W button at the top to change to Read/Write permissions. Then navigate to System and hold down on build.prop until you see the options menu. Then scroll down to select Open with Text Editor. Locate the line containing lcd_density and change it to whatever you choose. I chose 220. Tap the settings icon and save the file. It’s okay that it makes a backup file. Exit and reboot.
Update
I’ve been playing with it for a few days and am completely frustrated.
First, I tried to use it as a full tablet. I had lots of problems. So I decided to scale back and use it for a media tablet. So I re-rooted.
Now it’s constantly locking up and has to have a hard reset. I was going to use it as a handy display for my movies and videos stored on my computer using the DLNA server and Skifta. I was able to play one show and ever since the thing has frozen up.
I will now re-root it for the 3rd time and convert it for kitchen use. Recipes, etc.
(By the way – re-rooting starts at Step #4.)


