This may seem like an odd topic for my mostly technical blog, but allow me to explain. I’ve been on a Grilled Cheese kick for a while. And I repeatedly ran into a problem. My grilled cheese would be nice and crisp around the edges but soggy in the middle. This led to a Google Search – “crispy grilled cheese” and variations.
One of the top results was from Kraft. That recipe called for baking your Grilled Cheese and using Parmesan for extra crispness. While the flavor was rich and improved, the baked edges of the bread were too crispy and the middle was still soggy.
Some of the other results recommended baking and cooking in the skillet. Some said lots of butter. Some said light butter. Some said low heat. I tried a few and wasn’t pleased. So I did my own set of experiments. There might have been a spreadsheet involved ’cause that’s how dorky I am.
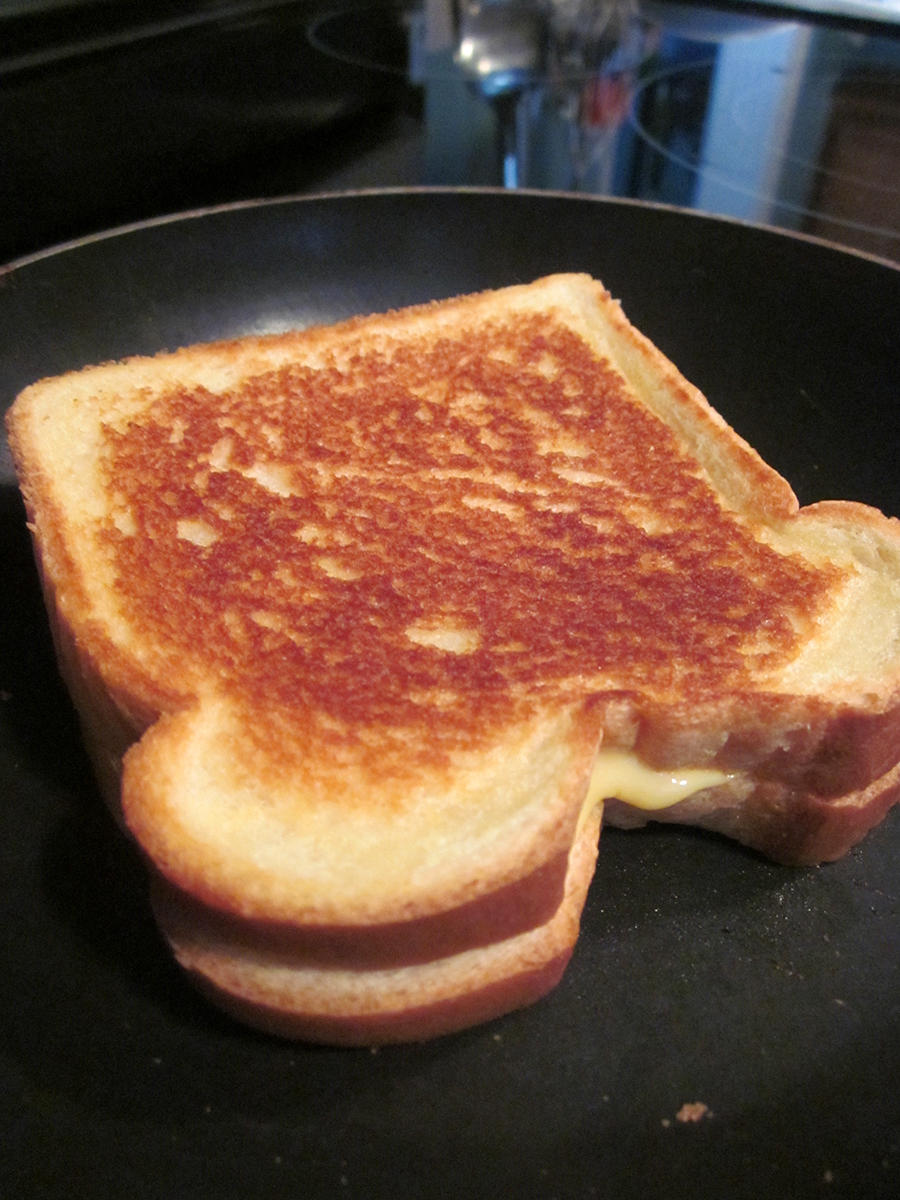
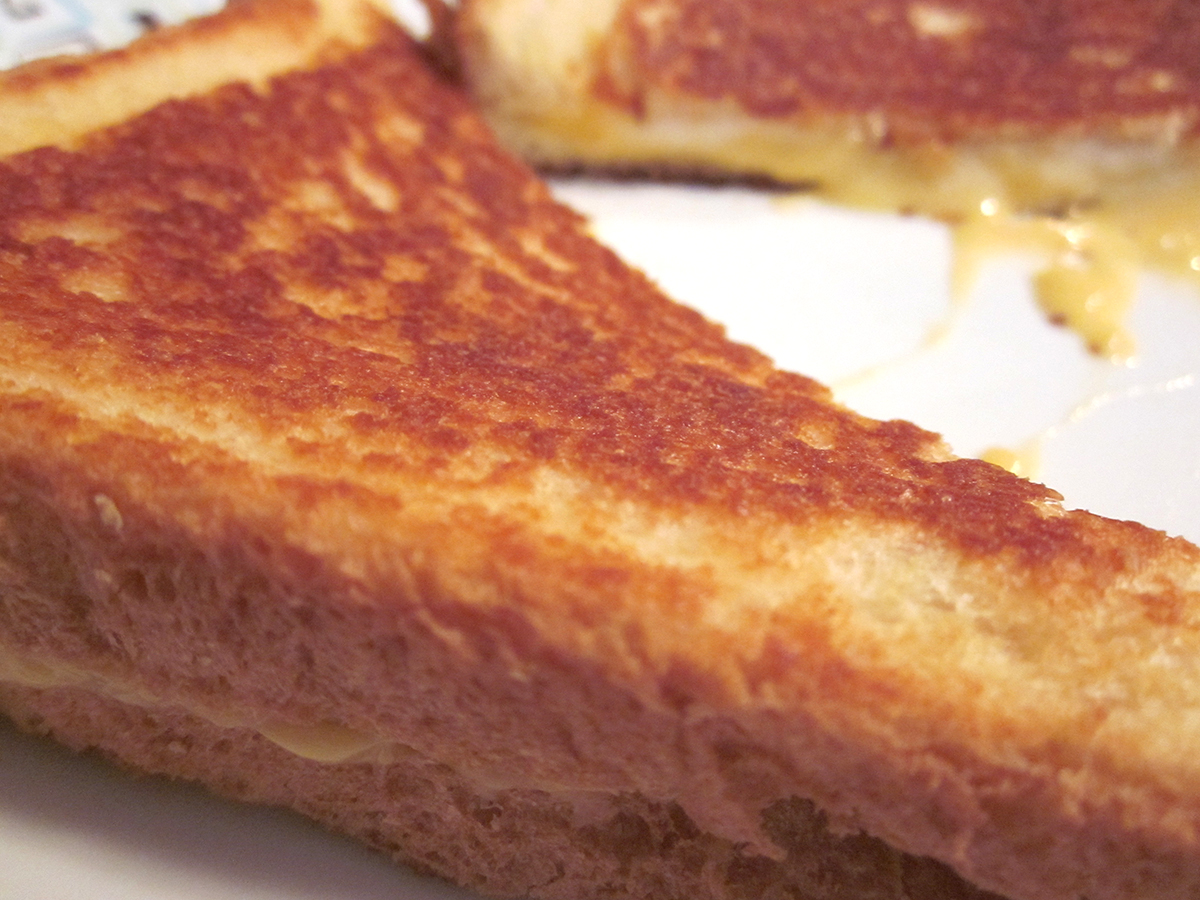
But now the experiments are done and I have the result: a Perfect Crispy Grilled Cheese.
Ingredients
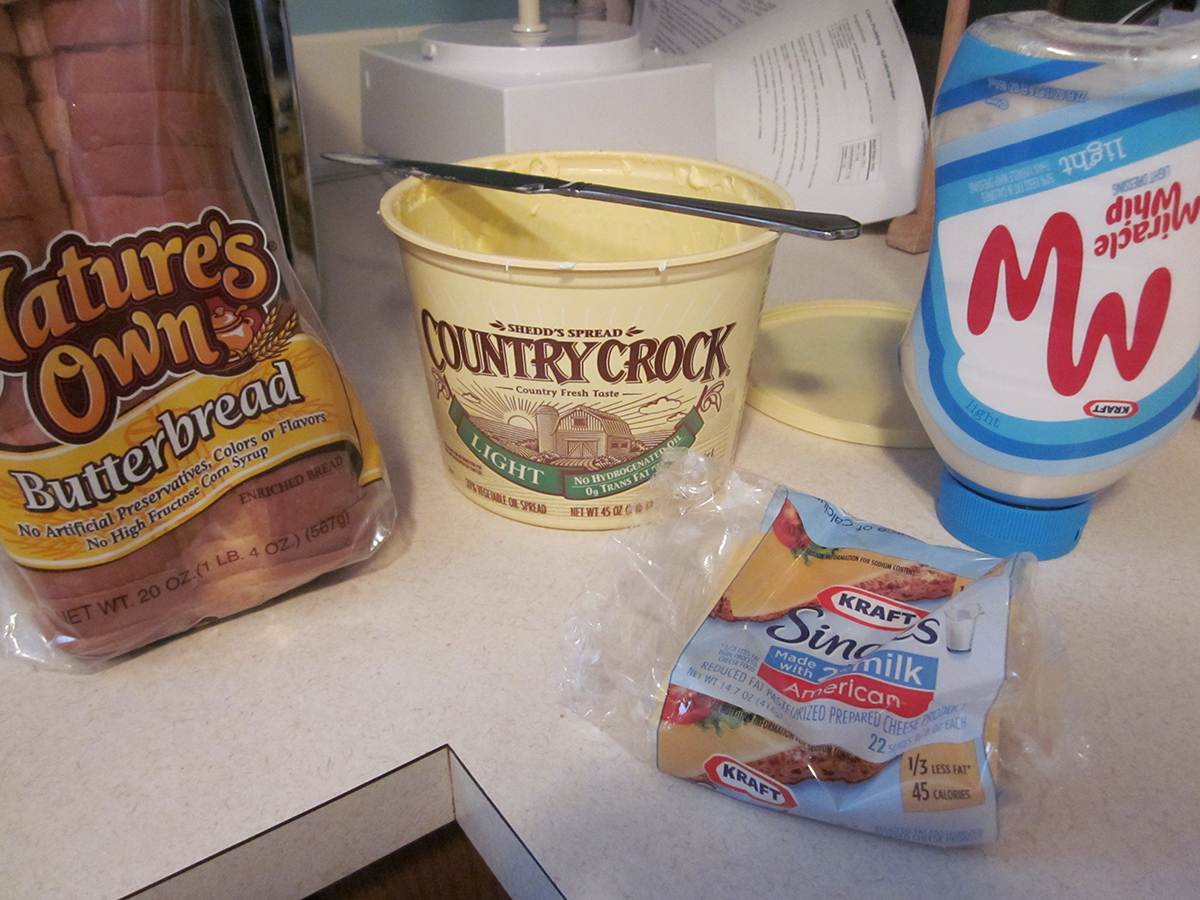
Some of my online searches turned up odd cheese or using real butter and melting it first… too complicated. You need to be able to make a tasty grilled cheese with cheese slices and margarine. We all know that heavier fat content generally means better browning and flavor, so my test needed to work with lowfat variations. For the images you see below, here’s my ingredient list:
- 2% Kraft American Singles
- Country Crock Light margarine
- Miracle Whip Light
- Nature’s Own Butterbread (It’s a recent find. It grills up well and is super soft and sweet for sandwiches.)
#1 – Heat Your Pan
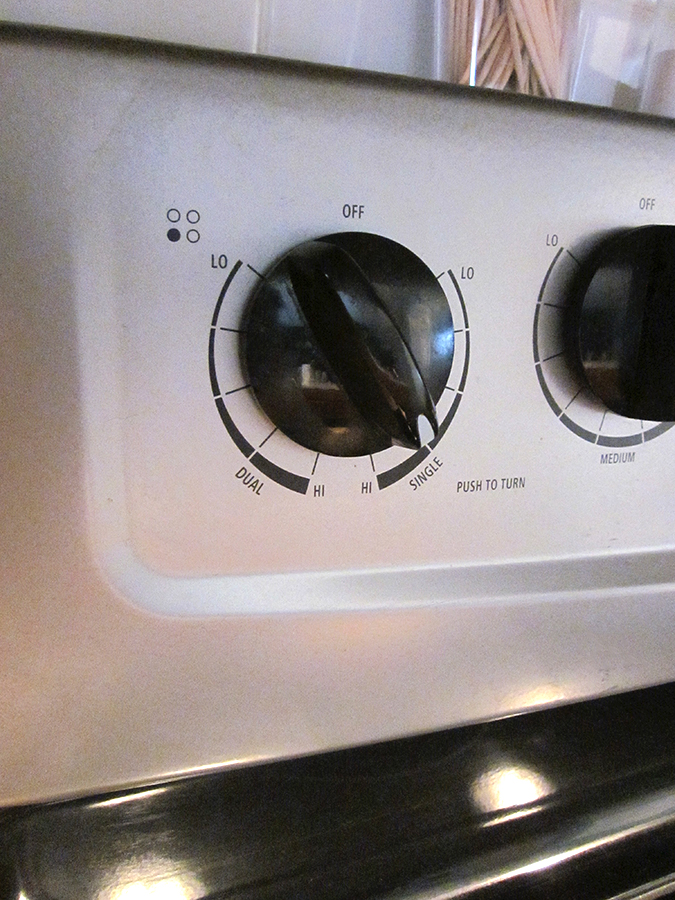
Your first step is to heat your skillet. The best choice is a small non-stick skillet. Set your stove top to between Med-High and High.
#2 – Butter the Bread
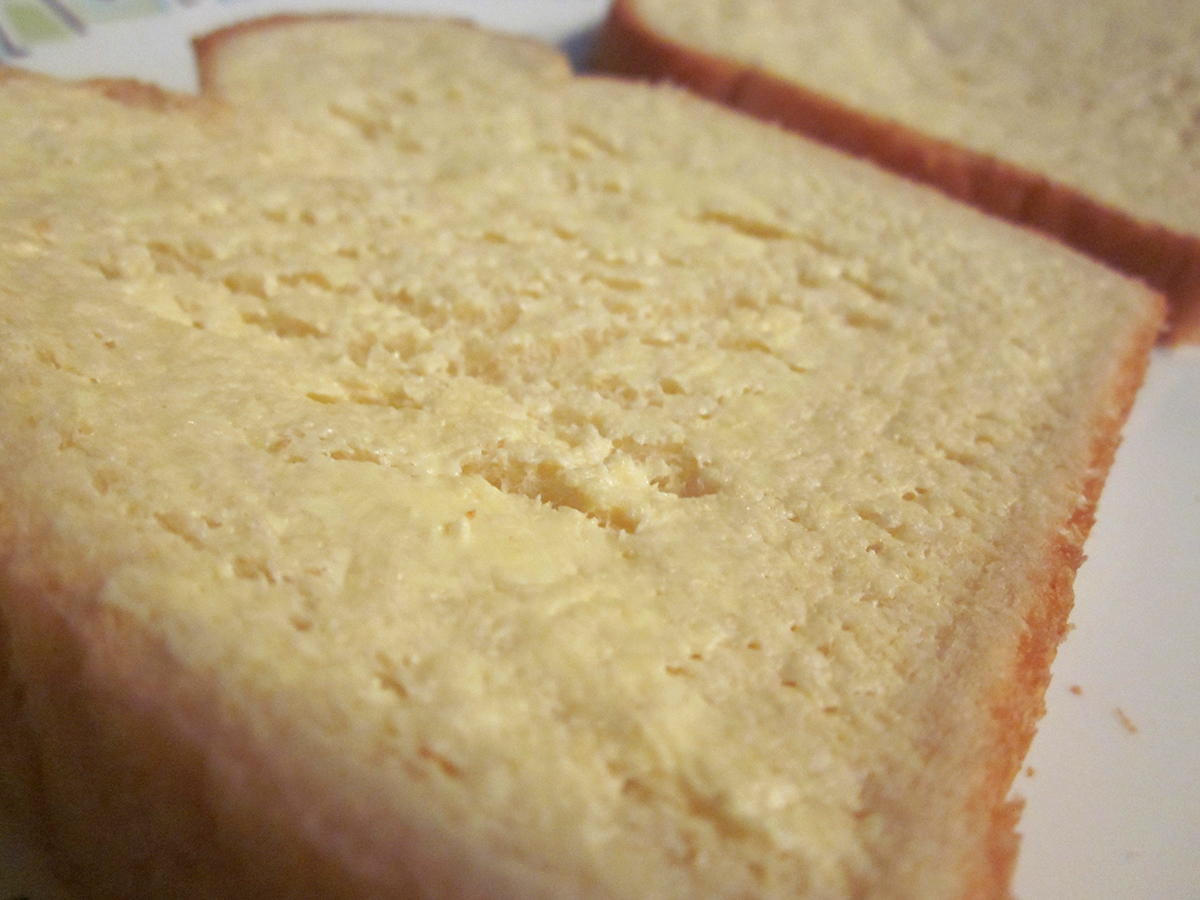
The key here is to LIGHTLY and GENTLY butter the bread. You want the thinnest coat of butter that you can spread from edge to edge. Margarine is a great choice because it spreads well. Don’t press down on the bread or it won’t brown well. Don’t over-butter it or it will get soggy.
You should now have 2 pieces of bread sitting on your plate buttered-side-up.
#3 – Cook the First Side
The trick to getting a Perfect Crispy Grilled Cheese is to place your cool, buttered bread in a HOT pan. If you don’t hear a sizzle, you’re not doing it right.
Make sure the pan is hot. This means a little patience, and if you’re not sure, drip a bit of water on your pan and see if it sizzles.
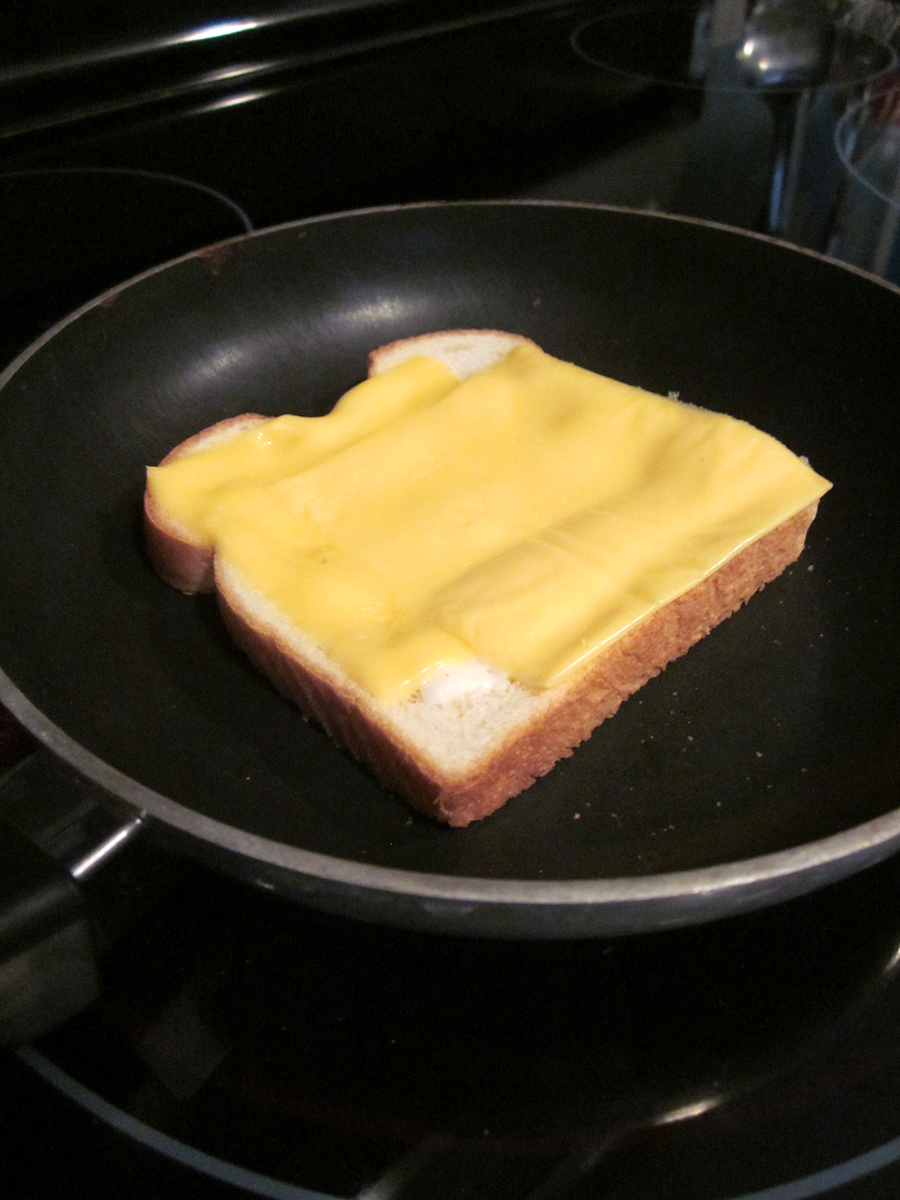
When the pan is hot, put your bread on the skillet then put your toppings on the bread. If you’re a purist, this means just cheese. You may like to add a little mayo. If you’re adding ham or turkey. warm it in another skillet or the microwave before putting it on your bread, and put the cheese down first.
Then let it cook for 3-4 minutes, depending on your stove. DO NOT put the other slice on top yet.
You’ll know your Perfect Crispy Grilled Cheese is almost done when you see the cheese get all melty. To be sure, lift a corner and look at the bread. When it’s nearly done…
#4 Put the Top on and Flip It!
Again, the idea is that you are putting a slice of bread with cool butter directly on a hot pan. If you put the other slice on top too early, the heat will melt the butter into your bread, making the bread soggy.
Let the second side cook for about 2 minutes. This side cooks a little faster since the pan is hotter.
#5 Serve and Enjoy
Put your Perfect Crispy Grilled Cheese on your plate, take the hot pan off the hot burner, turn off the stove, add a side of your choosing (mmmm… tomato soup) and enjoy!
Nutritional Information
For this grilled cheese, made with 2 slices of Butterbread, 2 slices of Kraft 2% Singles, 1 TBsp of Country Crock Light, and 1 TBsp of Miracle Whip Light, here’s the nutritional info:
That’s 280 calories, 30g Carbs, 13g fat, and 14g protein.
Summary
The takeaway is that you need to lightly butter your bread with cool, spreadable butter or margarine. You then need to make sure that cool, buttered bread goes into a hot pan. It’s Perfect Crispy Grilled Cheese joy.

