The kitchen is the heart of your home. For most families it is the most-used room in the house. It can also have the most clutter and disorganization. This week in the Organized Life Series we’re going to reorganize the kitchen.
Last week we worked on Organizing Our Food. This week we’re moving to the kitchen and all of its associated tools. Items such as dishes, bakeware, plastics, utensils, and small appliances can cause a lot of clutter. Your needs will vary according to your family status and kitchen size, as well. A single person living in a studio apartment will have far different needs than a family with 5 children with a large kitchen. Your eating habits will also affect your kitchen organization needs. And as many of us have found out, buying some great kitchen gadgets and getting organized can motivate you to eat at home more.
Basic Organization
There are certain things that you need even if you live in dorm room with only a fridge and a microwave. These are the basics.
- Dinnerware – cups, plates, bowls, silverware. Unless you plan to spend a lot of money on paper goods, you need some staples to wash.
- Food Storage – plastic bowls with lids for reheats. Ziploc bags.
- Can Opener
- Trash Can and Recycle Bin
- Appliances – Refrigerator, Microwave, and at least a toaster
- Measuring Cups and Spoons
- Spices – Including salt, sugar, creamer (if you drink coffee), garlic powder, or whatever you like to add to food.
- Cleaning – Dish soap, towels, cloths, bug spray?
There is a basic layout that always makes sense. It applies for a small kitchen and for a large kitchen.
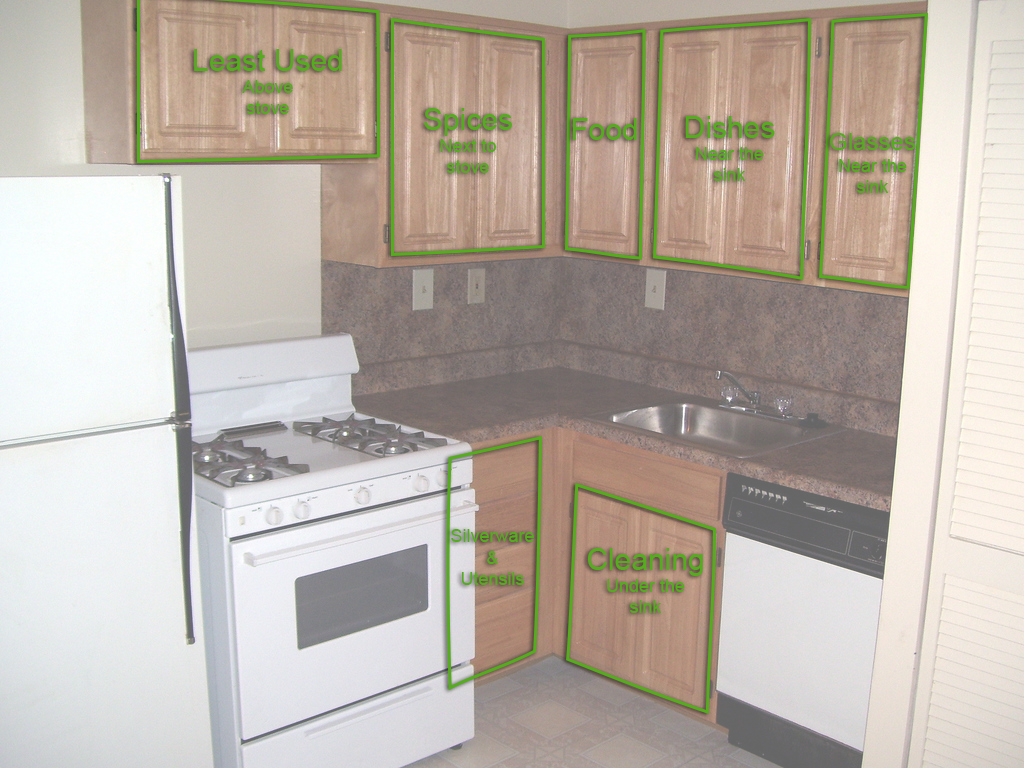
In the small apartment kitchen shown above, the basics are easily displayed.
- Dinnerware and Food Storage – These items need to be near the dishwasher (if you have one) and sink. The goal here is to make them easy to get to and put away when they are clean. People usually put them up high. In the above example the plates, bowls, and food storage bowls go into the larger cabinet while the glasses are in the smaller one. Another way to do it is to put plates, bowls and glasses together and put your plastic food storage in the small one.
- Spices – These need to be near the stove for easy accessibility, but not OVER the stove where they are subject to too much heat. In this large cabinet you could also store food.
- Silverware and Utensils – These typically go in the drawers. If you have a lot of drawers, they go either near the plates or near the stove. Drawers are also often used to store dish towels.
- Cleaning – Cleaning supplies are usually stored under the sink.
- Food – If there is no pantry in your kitchen, food is usually stored in upper cabinets. In the example above, put it in the small corner cabinet and in the larger one with spices.
- Pots/Pans – You’ll need a few of these. Cookie and baking sheets go in the drawer under the stove. Pots and pans go above the stove in the above example. Or a hanging pot rack is a good option if you have space over a table in an eat-in kitchen.
- Trash Can and Recycle Bin – These typically sit on the floor, though in larger kitchens people sometimes put them under the sink to keep kids and dogs out.
- Appliances – In a small kitchen like this, you hope there is a microwave mounted over the stove. You put your blender, toaster or other small appliances on the counter.
- Countertops – This is a good place to keep a few things when you have minimal cabinet space. A canister of utensils frees up a drawer. Canisters for sugar/flour free up some cabinet space and keeps those items airtight.
Those are the basics as you move into your first apartment.
Advanced Organization
Food
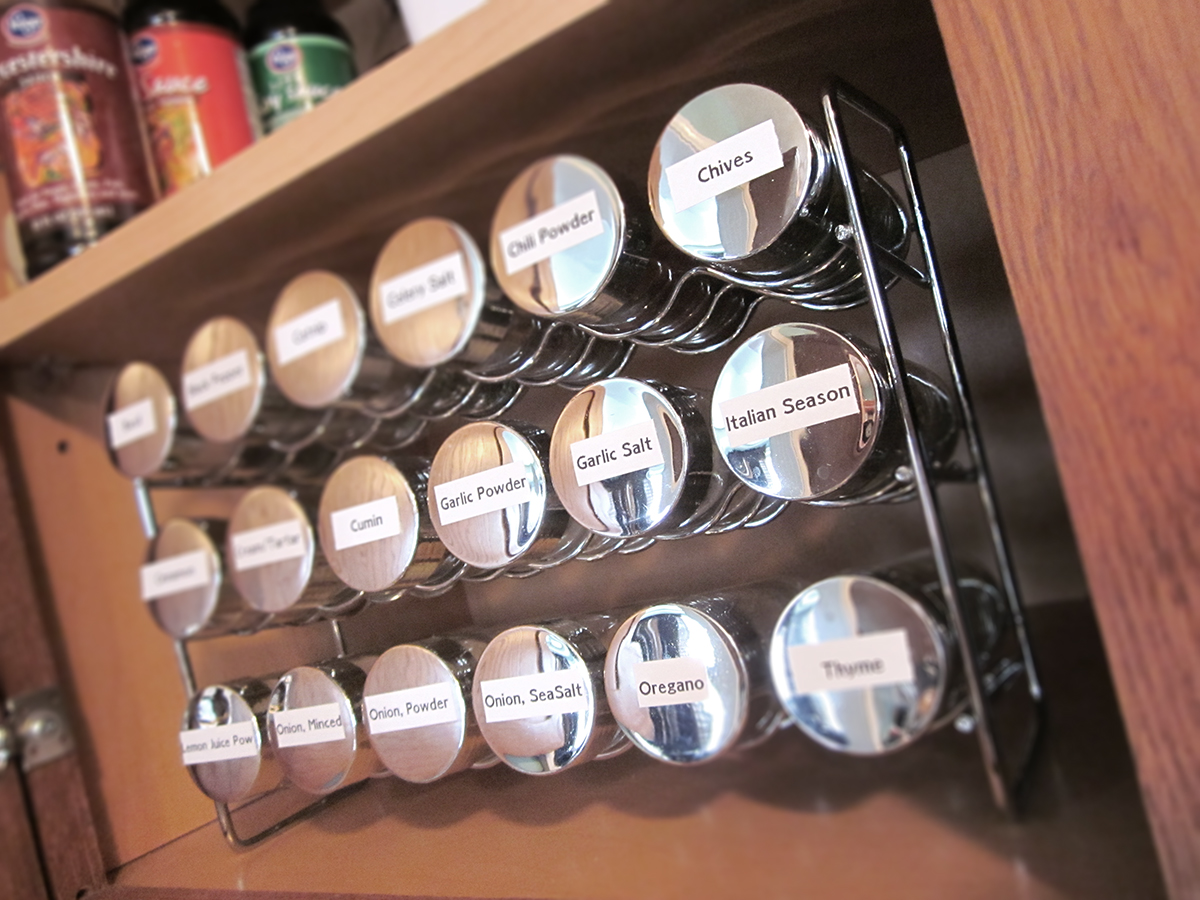
We covered Organizing Food last week in the Organized Life Series. We organized our pantry, our spice rack, and our freezers. Here’s a small taste:
That’s my lovely spice rack. And here’s my pantry.
Appliances
As your household and square footage grows, so does your impressive list of small appliances. You may have these and more:
- Toaster
- Coffeemaker
- Microwave
- Toaster Oven
- Bread Maker
- Blender
- Food Processor
- Stand Mixer
- Slow Cooker
- Rice Cooker
- Steamer
- Dehydrator
- and so on…
All of these appliances take up valuable counter or cabinet space. What’s the best organizational solution?
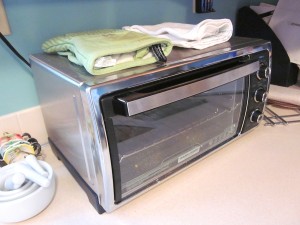
- Display what you use daily. Even if you don’t have a lot of space, or you have one of those nice appliance garages. If you use it every day you don’t need to be dragging it in and out. I use my toaster oven every day so there it sits on my countertop. (Since I do use it so much, I made sure to place it so that it would be on a GFI circuit.)
- Display it if it’s pretty. If you have one of those nice big Kitchen Aid mixers or a beautiful, shiny expresso machine, leave it out if you have the counter space!
- Put away but keep it handy. For something like your Slow Cooker or rice cooker, you may use it regularly but not every day. For things you don’t want to display but need access to regularly, store them in a kitchen cabinet. This is where I keep my rice cooker, mixer, waffle maker, and scale. I could keep one or more of these things out on the counter, but I don’t want to have to dust them.
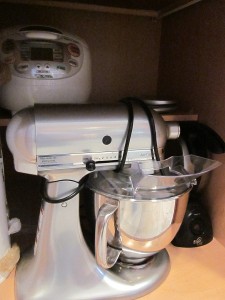
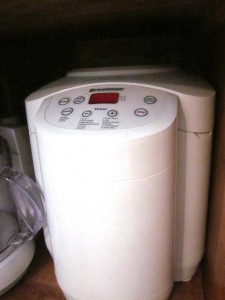
- Put things FAR away. Things like a bread machine or turkey roaster that you only use a few times a year can be kept further away. You can box them in the garage or basement or store them in a hall closet. You can even keep them in the bottom of your dining room hutch, like I do.
Kitchen Utensils and Crocks
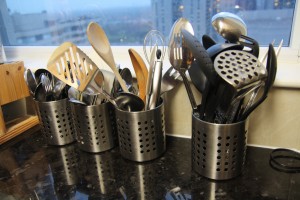
If you have a lot of cabinet and drawer space, you may choose to keep your utensils and stores (like sugar and flour) in the cabinets or to display them on the coutnertop. If you’re in a small apartment and short on drawer space, it is sometimes necessary to keep things on the counter. If you shop around, you’ll find there are some nice utensil organizers for sale on Amazon.
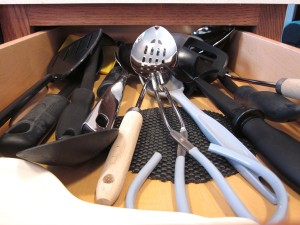
Or, if you have the drawer space, putting utensils away can make a counter look less cluttered.
 If you like to keep your sugar, flour and other dry goods on your counter, there are lots of beautiful canisters available to match any decor, including this beautiful set from Amazon:
Even if you do have the drawer space, it’s good to keep your knives in a knife block. And a great tip is to insert them upside-down so that the blades are up. This reduces wear on the edge of the knives.
Using your kitchen knives correctly is one of the easiest ways to ensure that your kitchen cutlery lasts for a long time. However, proper maintenance of your kitchen cutlery will also help to lengthen the life of your kitchen knife. By performing regular maintenance on your kitchen knives you will insure that you will have a life time of pleasurable cooking.
The key to keeping your kitchen knives in great shape is ensuring the edge of the blade remains aligned. Any knife will lose sharpness with regular use. If you look at the knife blade under magnification, you can see that the sharp, cutting edge will take on a wavy ‘S’ shape as it dulls. This curving of the blade can completely ruin the kitchen knife if you don’t regularly and frequently re-align the edge. In order to re-align the blade, you should use honing steel and oil. Failure to re-align the blade on your kitchen knife will result in those wavy ‘S’ shaped curves bending back over themselves and thusly damaging your kitchen knife permanently.
Sharpening your kitchen knives periodically extends the life of the blade and also promotes safety in your kitchen. If you have ceramic knives, the blades should only require sharpening once in a few years, but you should still handle them with care.
If you are unsure how to sharpen your knife, look to purchase a guided knife sharpener so you can ensure the knife is properly and safely sharpened. One of the most common errors in knife sharpening is to create an uneven edge and leaving some of the dull edge still on the knife blade.
Proper maintenance and cleaning of your kitchen knives is also imperative. Stainless steel cutlery is considered rust proof, though under certain circumstances even stainless steel can corrode. The finer the grind and the more polished the steel, the less likely it is to corrode.
When you are washing your kitchen cutlery, it is important to observe a few steps in order to preserve the lifetime of your knives. Wash your kitchen knives in warm, mild soapy water and rinse well. Completely dry your knives with a kitchen towel immediately after washing. Leaving them to drip dry can induce rust formation on your kitchen knife. If you have wooden handled knives, be sure to never soak it them in water as this can cause damage. Rub mineral oil, lemon oil or furniture polish on the handle occasionally to help keep the knife handle’s integrity and maintain the look of the cutlery.
Store your knives with care as well. Stainless steel, ceramic and other forged knives should be sheathed in a wooden knife block or placed in sleeves and put in a drawer. Storing knives in a compartmentalized drawer is preferred as it will keep your kitchen cutlery from hitting against other kitchen utensils or cutlery in the drawer. This jostling can damage, dull or chip the blades.
The final thing to remember when taking care of your kitchen cutlery is to never use your knives for anything other than cutting, no matter how tempting or convenient it may be. Using your knife as a screwdriver, chisel, hammer or pry bar will only result in damaging your blade.
Taking proper care of your kitchen cutlery will extend its lifetime dramatically.
-Ben Anton, 2007 http://www.lightsandknives.com/kitchen_knife_info.htm
Large Counters and Islands
What if you are living the American Dream and have more kitchen counter space than you know what to do with? Ah, we’re so blessed! If you have a huge island or a dividing countertop you may be at a loss to decorate this space.
Here was my delimna. I have a counter between my breakfast room and kitchen. It’s huge and great for entertaining. There’s no better space to set up a buffet. However, it is countertop height with no overhang for placing barstools next to it. If there was space for barstools, I couldn’t have a table, and you couldn’t sit comfortably. If I ever update my kitchen counters, I’ll convert this counter to an island. But for now I have a huge expanse of countertop.
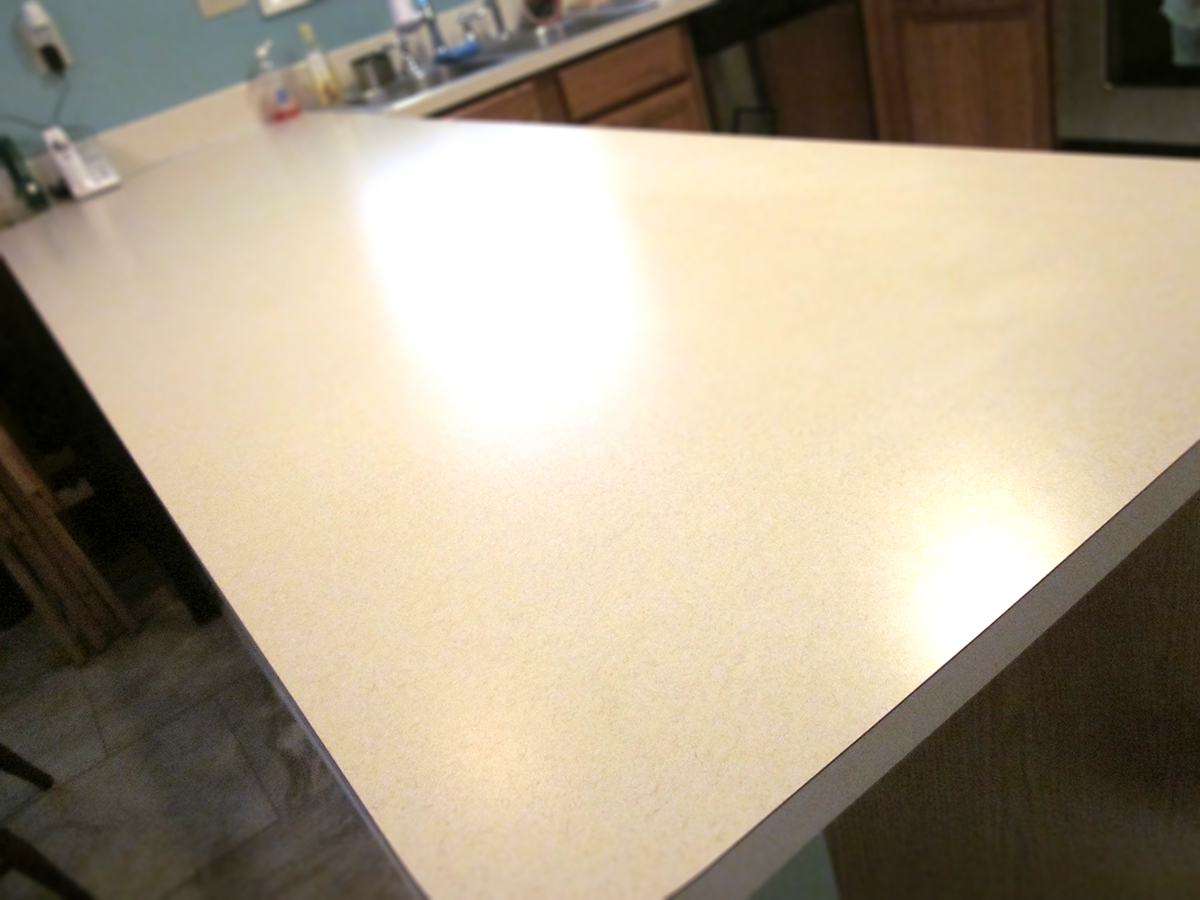
The standard items used to fill a countertop such as this are:
- Fruit Bowl
- Pie/Cake dish
- Decorative dish with those silly balls
- Flowers
- Cookie Jar
But to me, those were just clutter. (Other than the cookie jar.) I decided to use some pretty items that I already had on the counter and move them away from the wall to the long counter. I have some lovely stainless steel canisters for sugar/flour that I moved to the counter. I also have a Doctor Who Tardis cookie jar that represents my dorky side and a candle that I burn regularly that represents my feminine side.
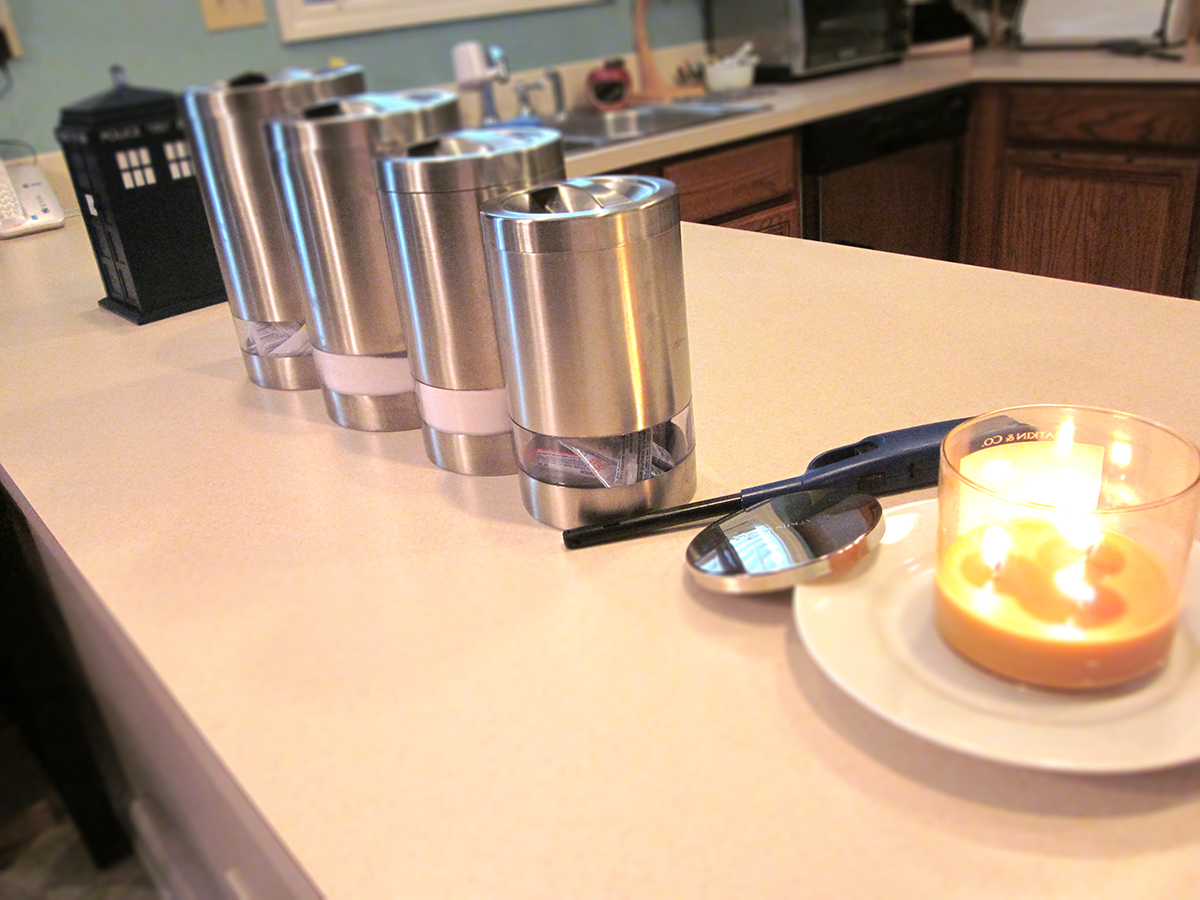 The idea was to fill up the empty space with things I was already using. These things are useful and visually appealing.
Food Storage Containers
Whether for storing your reheats or packing your lunch you probably have a cabinet full of plastic (and maybe glass) food storage containers.
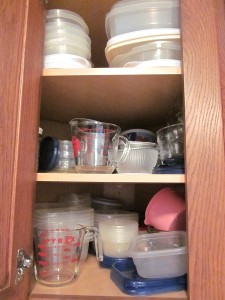
I have a combination of items in this cabinet that consist of:
- Glass Measuring Cups. I keep these in this cabinet since all of my plastic measuring cups and spoons are in their own drawer.
- Glass bowls. As I catch them on sale, I have purchased a couple of Pyrex glass bowl sets with lids. These are great because if you throw them away, you’re not adding so much plastic to a landfill. They also don’t absorb colors and flavors like the plastic does and there’s not the potential for heated plastic to release chemicals into your food. NOT cancer-causing chemicals (see snopes for THAT info), but chemicals none the less.
- Disposable plastic bowls. These are things like the Ziploc plastic containers and recycled containers. Recycled containers in my household consist of Hillshire Farms meat containers, sour cream bowls, and Cool Whip bowls. I use these to send leftovers home with someone else or to take leftovers to work. If they get gross or forgotten, there’s no guilt associated with throwing them away. I use these for cold foods, salads, and dressings. I try to use glass for hot foods.
- Plastic bowls. I’m trying to phase these out, but some of the larger ones are good to keep around to take baked goods in to work.
Pots and Pans
While you’re spending time organizing your kitchen it is a good time to evaluate your pots and pans. You may have some decent and relatively organized pots.
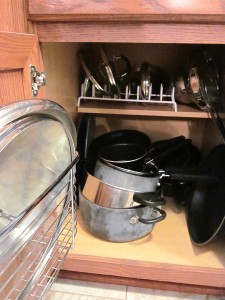
But have you done any research or did you just buy whatever was at Wal-Mart when you were broke? (Guilty) To learn more about the types of metals and surfaces and what’s important in purchasing cookware, see the Kitchen Cookware article.
I wanted to replace my pots and pans to pass the old ones down to my college-age daughter for her first apartment. (It’s a really good excuse to finally buy good stuff for your kitchen!) After doing my research online, I decided to head to Bed, Bath and Beyond to check out the different brands in person. I wanted to hold them, feel the heft, and check the workmanship. Once I get a final decision, I’ll come back and post it here.
Bakeware
Beyond your pots and pans, you may have collected many different types of baking sheets that you’re storing in the drawer under your oven.
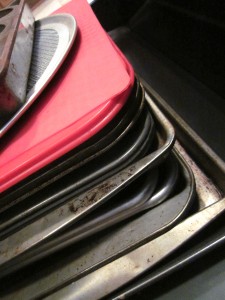
Over time, these can get rusty, scratched, and stained. For my replacements, I decided on the following:
- 2 of Nordic Ware Bakers Half Sheet, 13 by 18 by 1 Inch
- 2 of Silpat Non-Stick Baking Mat, 11 5/8 x 16 1/2-inches, Half Sheet Size
- 4 of Nordic Ware Bakers Quarter Sheet, 13 by 9 by 1
- 2 of Nordic Ware Muffin Pan – 12 cup Standard Size
- 2 of Nordic Ware Compact Ovenware Baking Sheet
Other bakeware items include cake pans, pie pans, and baking dishes.
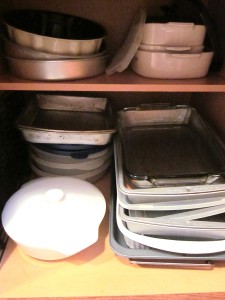
If you’re investing in bakeware, get glass. It looks like new a LOT longer. I have a couple of aluminum cake pans that I purchased with lids. These are great except they scratch quite easily when cutting your cake. You’d have to use a silicone or some other knife and that’s practically useless when cutting a cake. My glass pans from decades ago still look like new.

