Are you a recent convert from Windows to Mac, but your transition has been thwarted by one or two stubborn applications that only work on your Windows operating system? In this Weekend Series article, you are going to set up your Mac to not only run those stubborn programs, but to make them easy to use.

In this tutorial, you will install the following software:
- Parallels Desktop 10 for Mac
- Microsoft Windows 8.1 (Full Version)
- Adobe® Creative Suite® Design & Web Premium (CS6) for Windows – Photoshop only
When you have completed this tutorial, you will be able to do the following:
- Double-click on a Photoshop (.psd) file to open the file in Photoshop
- Open Photoshop and transition seamlessly from the Mac to Photoshop in the Mac Dock
Preparing for the Weekend
Before you can do the work over the weekend, you need to purchase the necessary software. To follow the exact steps in this tutorial, purchase the following software:
Bundle: Parallels Desktop 10 for Mac with Microsoft Windows 8.1 (Full Version)
The download file for Windows is very large, so you will need to wait for the disk to be shipped to you. (If you’re an Amazon Prime Member for $99 a year, you get free 2-day shipping.) If you are only purchasing Parallels, you can begin immediately using the trial period until your access key arrives in the package.
If you have a Mac Mini or a MacBook Air, your computer does not have an optical disk drive. During this tutorial, we will be using a networked Windows PC for the installation, but you might want to consider purchasing the Apple USB Superdrive. Make sure you purchase the one from Apple for around $79. If you take a chance on a third-party drive, make sure that you have time to go through troubleshooting and the return process before you need the drive.
Installing Parallels & Windows
Parallels is great software that is designed for Macs, and that lets you use Windows programs without rebooting and logging into Windows. It’s been around for a long time and has over 5 million users. You can use Parallels to launch Windows apps from the Dock, use OS X gestures in Windows apps, and copy/paste and drag/drop between Mac and Windows. There are some more complicated and cheap/free options out there, such as VirtualBox. (For more information, see this Lifehacker article.)
1. Update and Back Up Your Mac
Before you begin, update and back up your Mac. For more information about backing up your Mac, see apple.com/support/backup.
2. Image Your Windows Disk
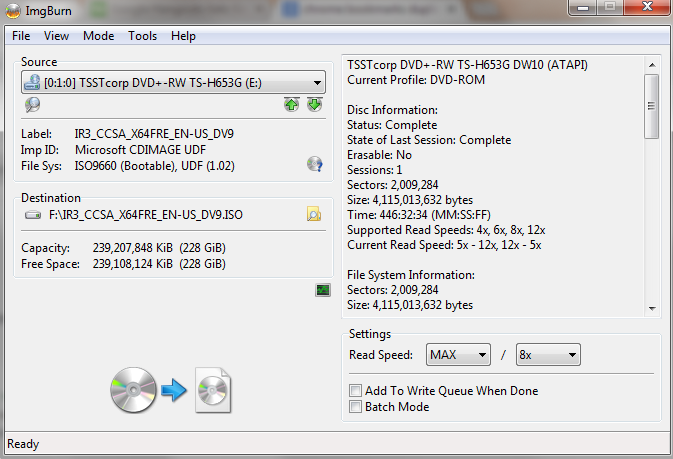
You can use a tool such as ImgBurn to create an image of your Windows Installation disk so that you can move it and install it inside of Parallels. ImgBurn is a reputable software company, but they do bundle crapware with their installation by default. Make sure that you do a custom installation to prevent the crapware.
After you install and open ImgBurn, burn a copy of the disk to an external drive that you can use from your Mac. For example, see the ImgBurn screenshot below:
3. Download and Install Parallels
The Parallels box does not include a disk. Instead, It contains a quarter of a dead tree that includes a multilingual welcome guide, advertising for the company’s other software, and a sticker with your product code. Go to www.parallels.com/desktop/welcome and download your bits. (It only took around 20 minutes on a broadband connection with a 17 Mbps download speed.)
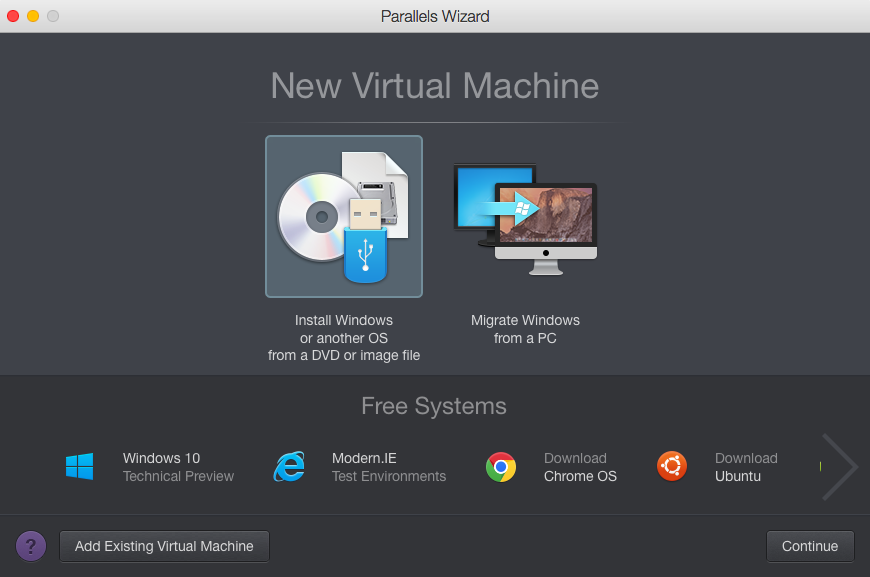
Follow the prompts to install and activate Parallels. When Parallels is ready to create a new virtual machine, choose Install Windows or another OS from a DVD or Image file and continue to the next section.
4. Install Windows from a DVD or Image File
Parallels does not support using a shared disk, so if you do not have direct access to an optical drive from your Mac, use the disk image that you created above.
Open the image file (.ISO) location in Finder and drag it to the Parallels Wizard window.
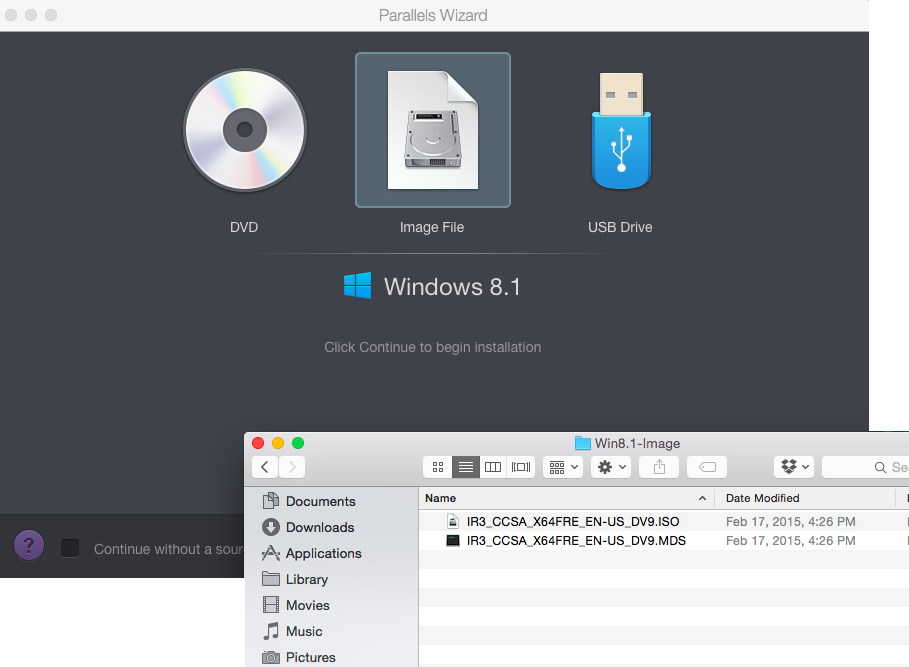
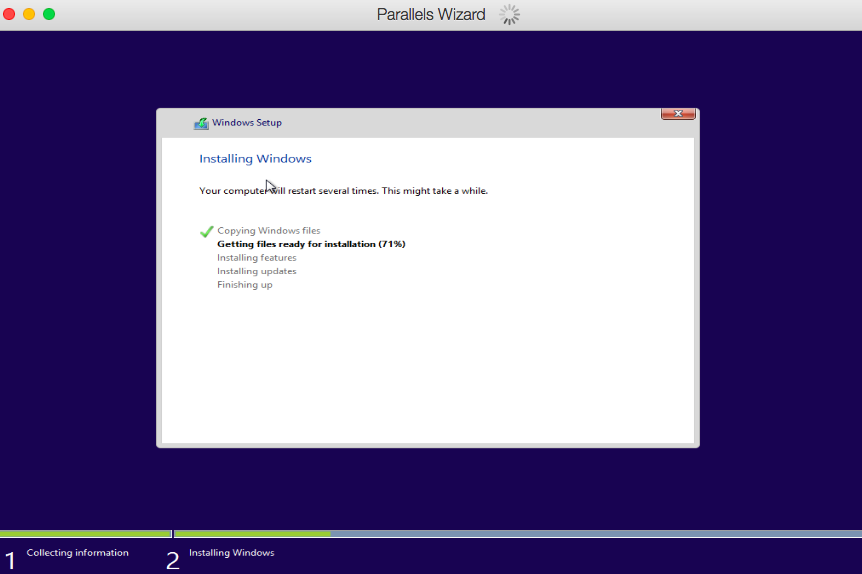
Install Windows in the new virtual machine using the default settings. Allow the Windows installation to continue. This could take some time.
5. Reboot and Back Up
After the installation is complete, reboot and back up your Mac.
Installing Your Software
After you have installed Windows on your Parallels virtual machine, you can install the offending (or ridiculously expensive) software on your Mac. There are 2 ways to install your Windows software:
- Install from your Mac – Using Finder, navigate to your shared disk or installation package and double-click on the
.exefile. Parallels will detect that it is a Windows application and will install the software in Windows. Follow the prompts and complete your installation as you would in Windows. - Install from your Windows VM – Open Parallels and navigate to your shared disk or installation package using Windows Explorer. Double-click on the
.exefile and complete the installation.
Using Your Software
After you have installed your software, such as Photoshop CS6, and now you are ready to use the software. To use it for the first time, complete the following steps:
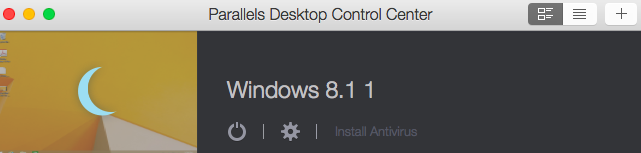
- Open Parallels Desktop and start Windows 8.1.1.
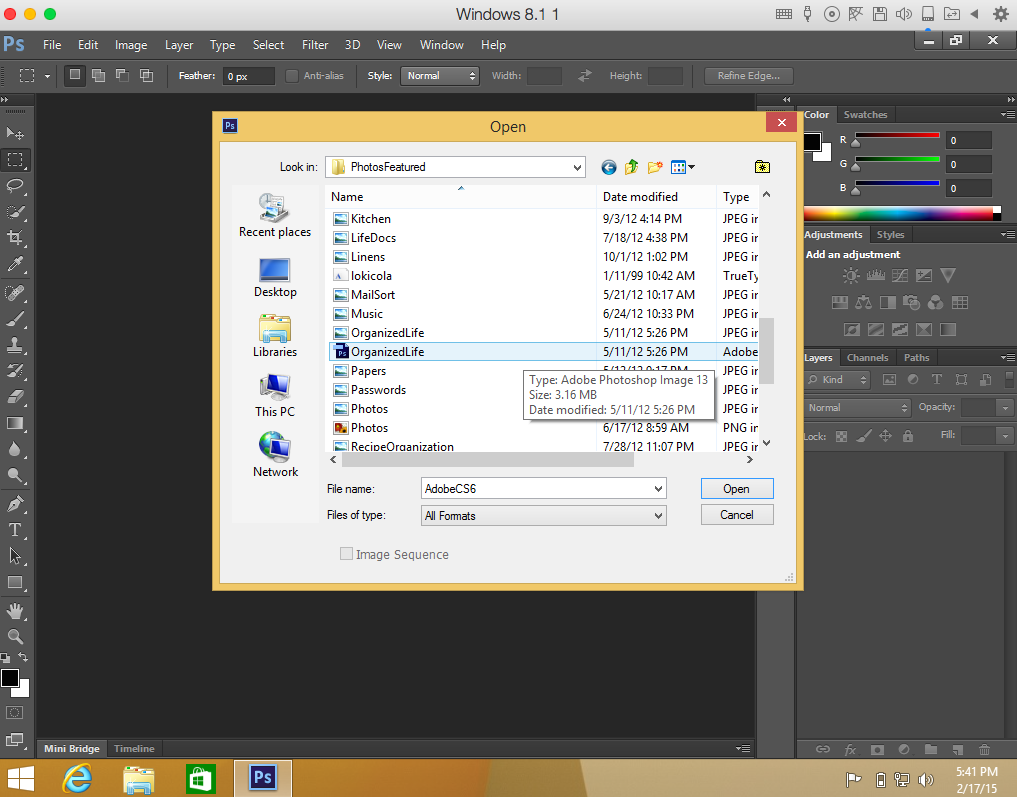
- Open the Photoshop CS6 program.
- Open a .psd file from within Photoshop.
- After the file opens, close and exit Photoshop.
- Shut down the Parallels Desktop virtual machine and quit Parallels.
- On your Mac, navigate to a .psd file in Finder and double-click on the file.
Parallels has now associated the file type to Photoshop and opens it automatically. - Back up your computer again. Be paranoid.
You can now install any Windows software of your choosing (as long as it fits inside your virtual machine, which defaults to 8GB). Enjoy the fact that although you are not Windows-free, you are at least Windows-light.


