As a part of the WordPress Series of articles, I am working through updating the Tolly-Ho Restaurant website. After a great deal of consideration and consultation, I’m going to work up the site using a new theme that Tolly-Ho has purchased. I’ll be working on the Eatery Theme from Theme Forest that I found through WP Explorer.
I will walk you through the general steps of learning about a new theme and will show you the specific example that I am using.
Read Your Documentation
When you first purchase or download a new theme from a company that you are not familiar with it is important to read through the documentation. The amount of documentation and the depth of information will vary according to your theme’s developer. You can generally find your documentation in one of three ways:
- Downloaded with your theme files.
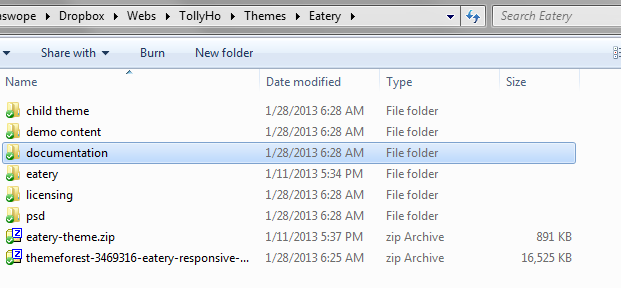
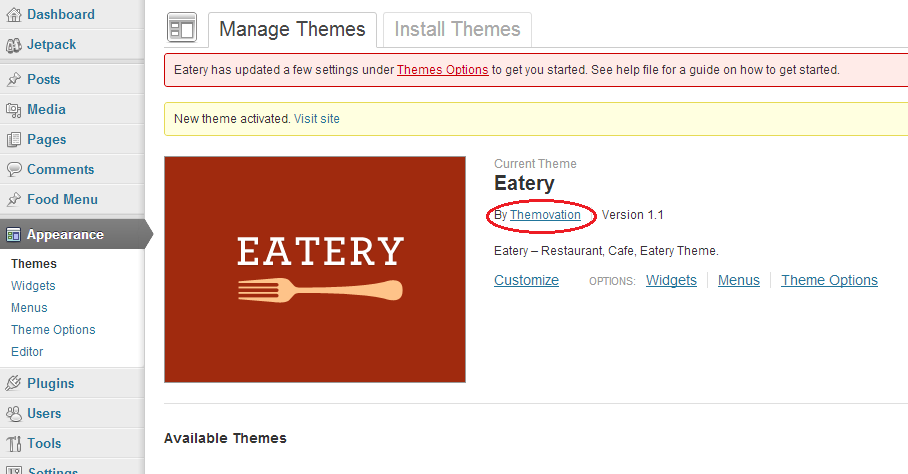
- Through your WordPress Appearance > Themes page by following the link to the developer’s website.
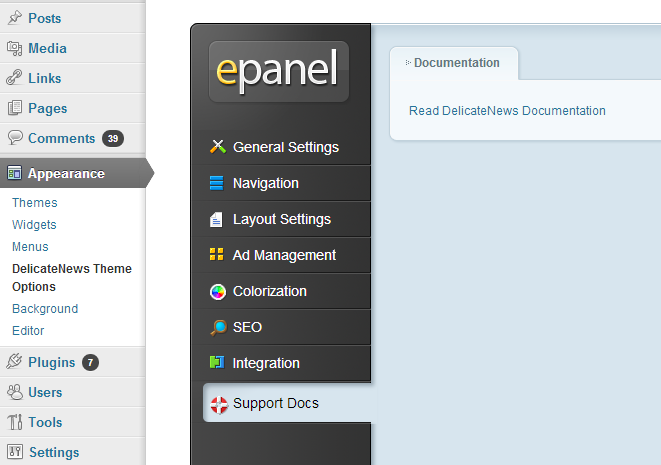
- Through your Theme Options. (The image below is from an Elegant Themes options panel.)
So stop NOW and go read your documentation. You need to understand how your theme works! Here are some of the things that you may learn by reading your documentation:
- If the theme uses TimThumb to resize images for your site, you may need to add a folder or change a folder permissions on your server.
- The theme may work best with a specific image size. For example, it may ask you to to use images that are at least 340px in height so that they don’t get stretched or distorted.
- There may be information on shortcodes and special categories you should use for your specific theme to work properly. In the Eatery theme, there are Food Menu Groups and Menu Items to consider.
- Learn how to set up any photo or info sliders.
- Gather info on included page templates.
- And more depending on your theme.
Non-Code Changes
You can do ANYTHING with your theme if you edit the code. But for this article, I’m going to edit the Eatery Theme using only the WordPress CMS interface and not changing code. I’ll walk you through everything I do.
I’m assuming that you already have your website planned and have content and images ready. We will not be adding any content such as pages or posts, but we will be uploading images to enhance the theme. These will include logos, backgrounds, and headers. You need to know what you want in your menus, sidebars, and footers.
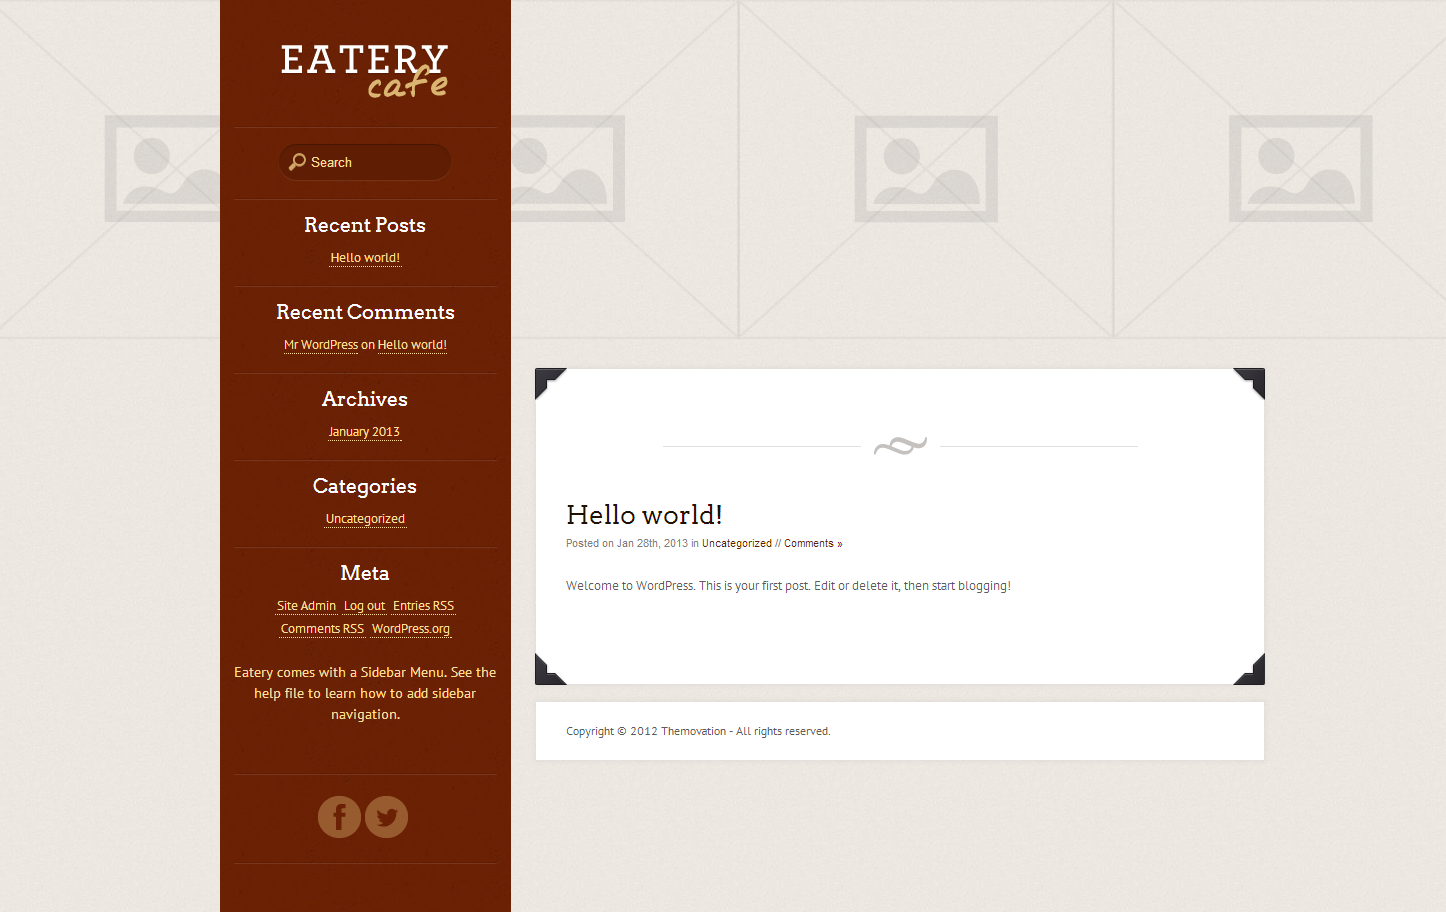
First, let’s have a look at the standard WordPress install with only the theme changed to Eatery.
It’s pretty boring and quite a bit ugly. Let’s see what we can do.
General Theme Options:
- Footer – I edited the footer to be:
[code]©2013 Tolly-Ho Restaurants, Inc. | Web Design by <a href=”http://www.skyviewdev.com”>Skyview Development</a> | Photography by <a href=”http://www.seriouslysabrinaphotography.com/”>Seriously Sabrina Photography</a>[/code] - TimThumb – I endabled TimThumb.
Layout Options:
- Skin Selection – I chose the casual theme because I liked that it had no texture in the side bar. To see the different skins in action, go to the Eatery Theme Demo.
- Custom Color Selection – I checked this because I wanted to set my own colors. It’s nice that I don’t have to manually do this in the CSS.
- Custom Color Field Populator – I chose the black theme as a color starting point.
- Color Selections: I chose #0a0a0a for the sidebar background, #ede8d8 for the sidebar contrast, #303030 for the sidebar tint, #ecb67f for the website background, taken from the wood background image I’m using, #ffffff for the content background, and #191919 for the headings and text.
- Logo – I uploaded the Tolly Ho Neon image and allowed the uploader to resize it.
- Header – I used the custom header option and uploaded several images.
- Tiles – I set the background tile to a warm wood image. To achieve this, I opened the wood image that came with the theme (as part of the seafood skin) and put a partially-transparent layer of orange over it, then saved it as a new image. I uploaded that image.
- Page Corners – I turned these off.
- Custom Icon Color – I wanted to change it from the default.
- Icon Color Selection – The selections are limited. I chose Almost Black for now, but will change it to blue to match the neon in the CSS.
- Social Media Account Links – I linked to multiple social media accounts. Especially note that I added the email and phone number here. That will help it create links in the mobile version, I expect.
I went back and pulled some links off.
Typeography
I played around with each of the options and ended up going with a combination of Droid Serif & Droid Sans. I may change the fonts manually later. I left the heading sizes as the default.
Results
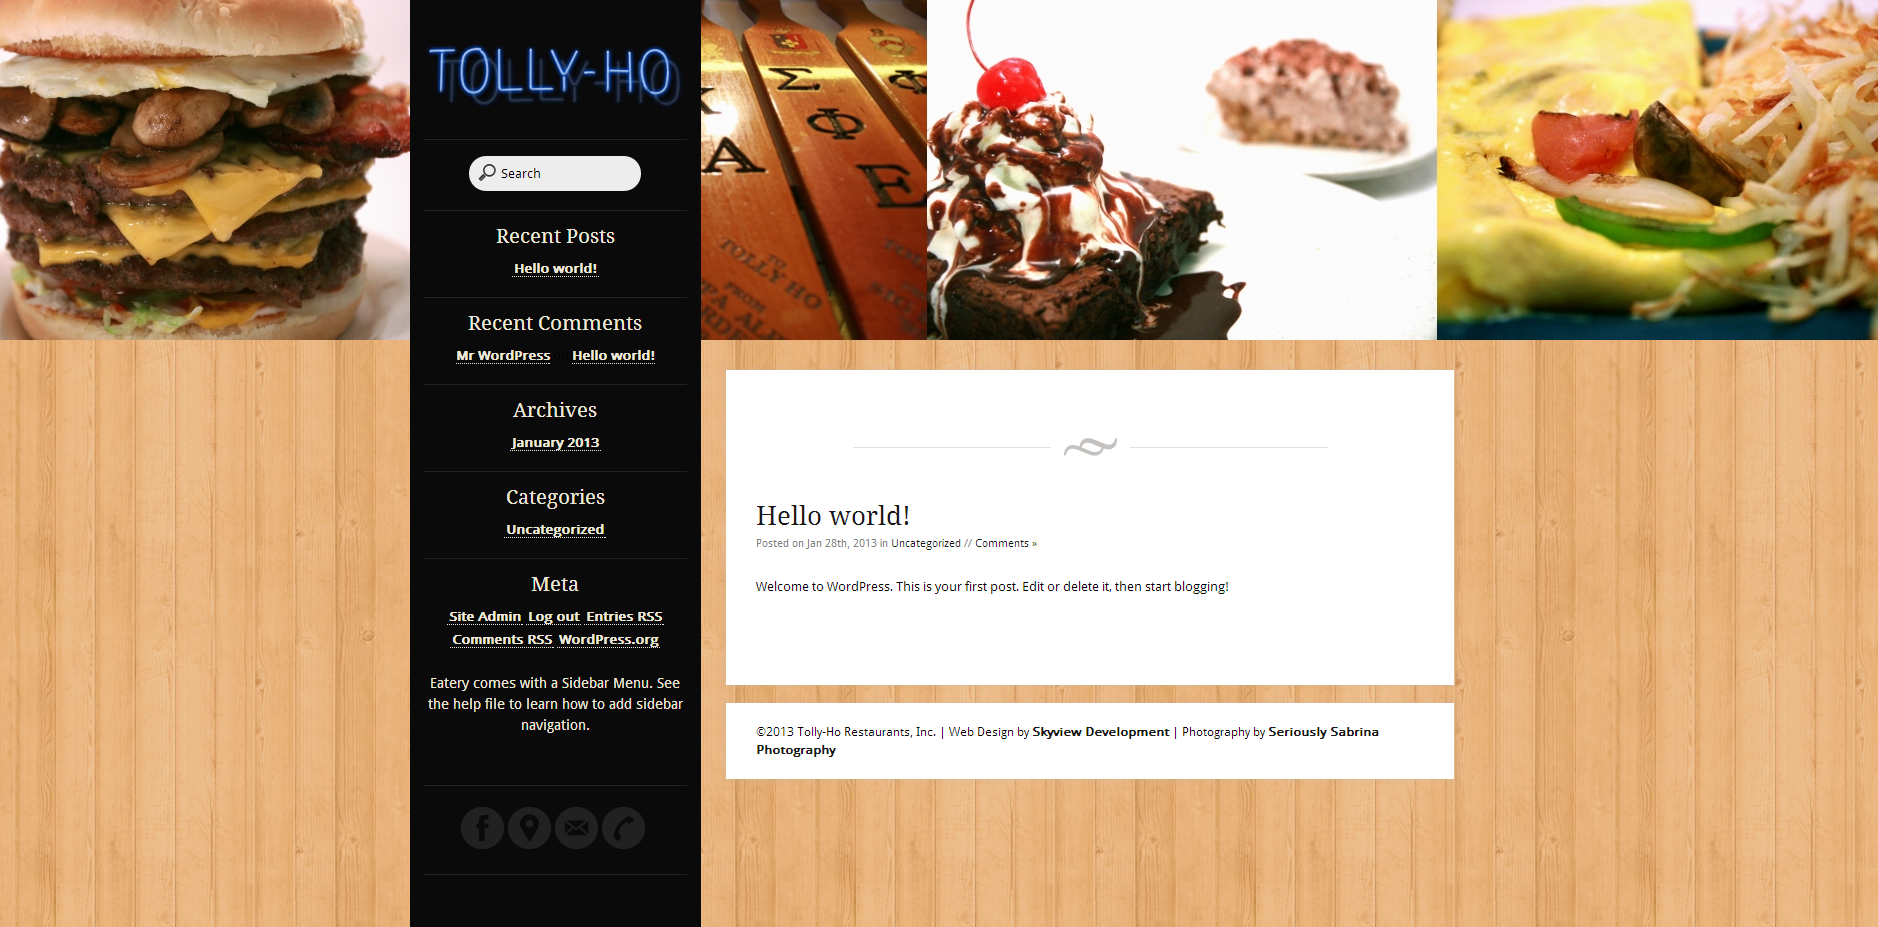
After changing ONLY the options in the theme (and not adding content, editing or adding pages/posts, or messing with the sidebar widgets) here is what the page looks like:
That’s it for theme changes! Keep up with the series to learn more.
And stick around to see what’s coming next week in the WordPress Series!

