As a part of my Backup System, I recommend using CrashPlan. It has a client for WIndows, Mac and Linux. But it has one major problem. You can choose to backup to a folder, external drive, a friends computer or online, but CrashPlan can not backup to a network drive.
I have a NAS (Network Accessible Storage) device that I use to store all my files and backups. So of course I want a solution that can access that storage. Luckily after some searching I found a way to let CrashPlan add a network drive.
The solution is actually pretty simple:
- Create a folder somewhere. For example c:\backup
- Open up CrashPlan and go to the Destinations tab of the ap. Click “Folders” and find your new folder. Leave CrashPlan running and the Destinations tab open.
- Delete the new folder you created and just pointed CrashPlan to.
- Open a command prompt as an administrator: Go to your start menu and type “cmd”. Do NOT press enter. You’ll see the command prompt show up in your search list. Right-click it and Run As Administrator.
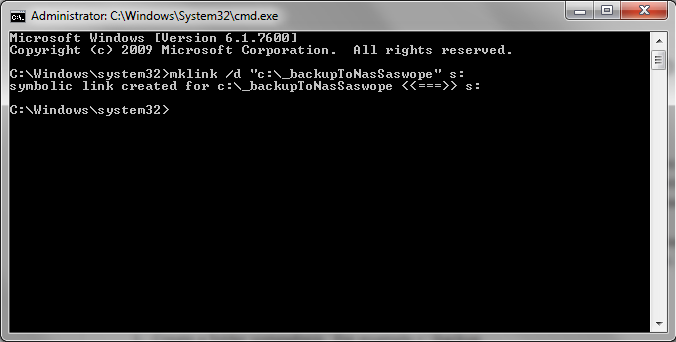
- Create a hardlink to the network share: type
mklink /d "c:\backup" \\nas\sharename– Hit return. You can also mount the share so it has a drive letter and do it this waymklink /d "c:\backup" z:.

Easy Enough!


