Do you have an old piece of software that’s giving you trouble on Windows 7? So do I. Here’s my story:
I have a Pfaff 2144 that’s updated to a 2170. If you don’t know what that is, it’s a high-end sewing and embroidery machine. The optional Pfaff Creative 3D Embroidery Software is one of the best things about the system. You buy embroidery designs online as files or as disks and import them into the software. You connect the sewing/embroidery machine to the computer where the software is running and embroider the design on your machine.
My desktop computer was a decent quality purchase years ago. It was running Windows XP and worked great for my embroidery software, but the computer died and I had to replace it. I replaced it with a Windows 7 machine and was able to load the software on the machine with little trouble. However, when I connected the machine (via USB) to my new desktop it was not recognized. I tried running the programs in XP compatibility mode as an administrator but it didn’t work.
Next on the list to try: run a virtual machine in XP mode on Windows 7.
Install XP Mode and Virtual PC
Not only do you have to revert your machine back in time, you have to use the relic that is Internet Explorer. Fire it up because you have to use IE to download stuff from Microsoft. Then go to http://www.microsoft.com/windows/virtual-pc/ and click on the button.
- Click the Windows XP Mode Download button
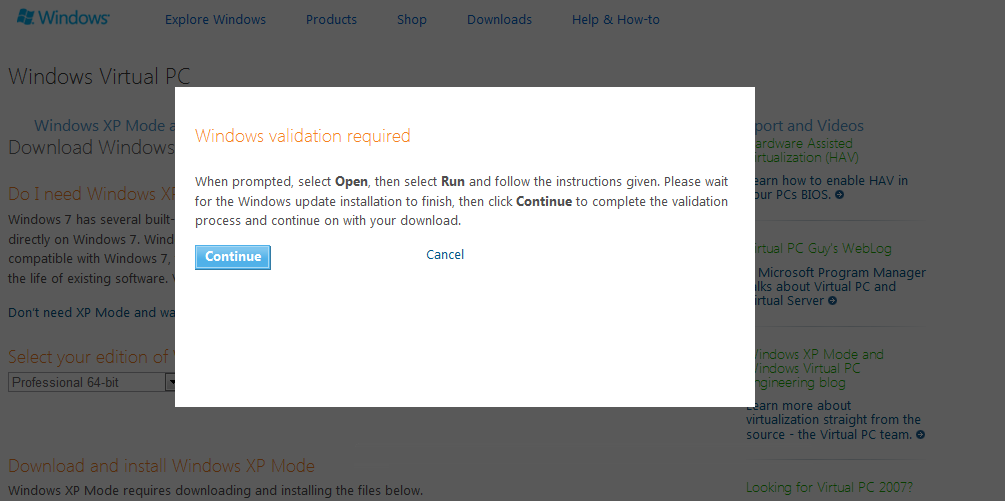
- Do the Windows Validation stuff so Microsoft can make sure you have a valid copy of Win 7. I’m not sure what this entails. It just runs and finishes. I didn’t have to do anything.
If you didn’t need to do validation, ignore this and skip to step 4. - Click on the Windows XP Download button again to do the actual download.

- Click through all the installation wizard
- Click on the Windows Virtual PC Download button

- Do the install and restart your machine
Install the Pfaff Software
Once you’ve installed the ability to switch to XP Mode, you need to install the Pfaff Creative 3D Software.
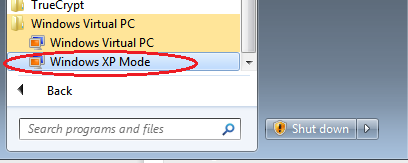
- Go to Start > All Programs > Windows Virtual PC >Windows XP Mode
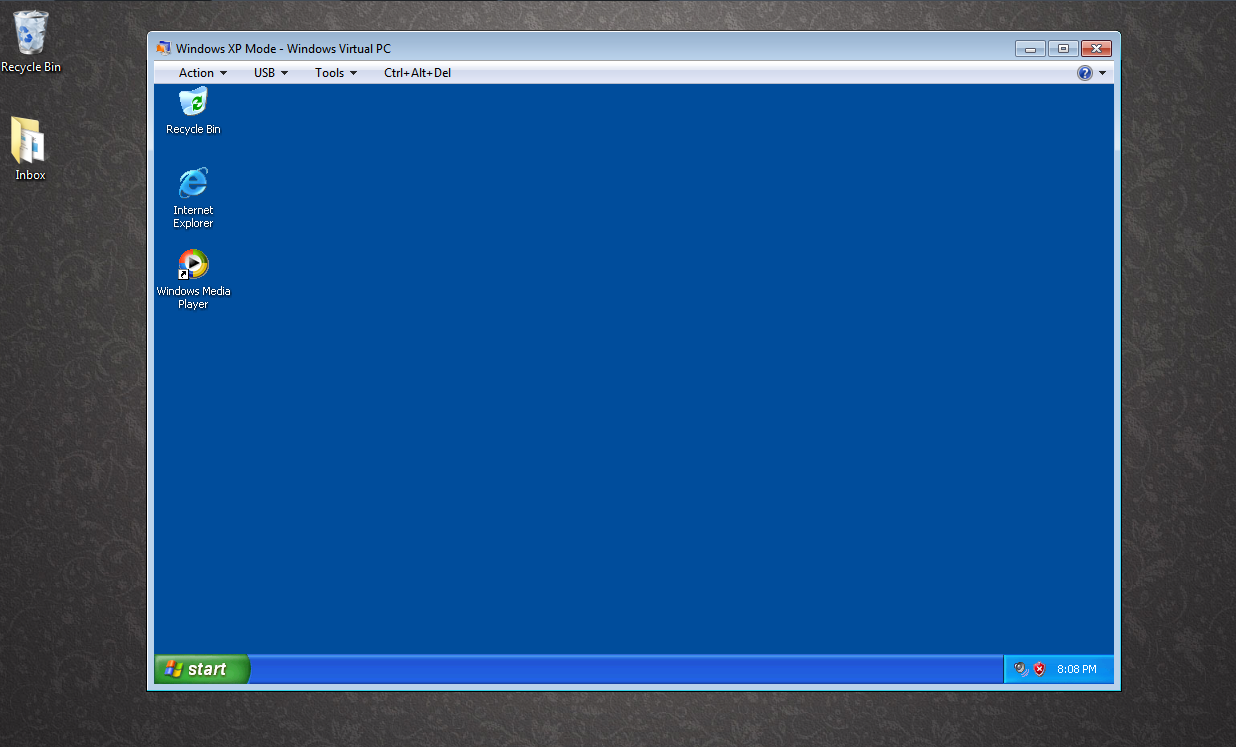
- Walk through the Setup Wizard to create the new Virtual PC environment. Once complete, the window will open.
- Insert the Pfaff 3D Installation Disk
- Make sure the software does its Autorun from XP Mode by going to Start > My Computer then right-click on the disk drive and select Autorun. You can tell it’s running in the correct operating system by looking at the window style. Your Win7 windows should be a different color than the standard XP blue:
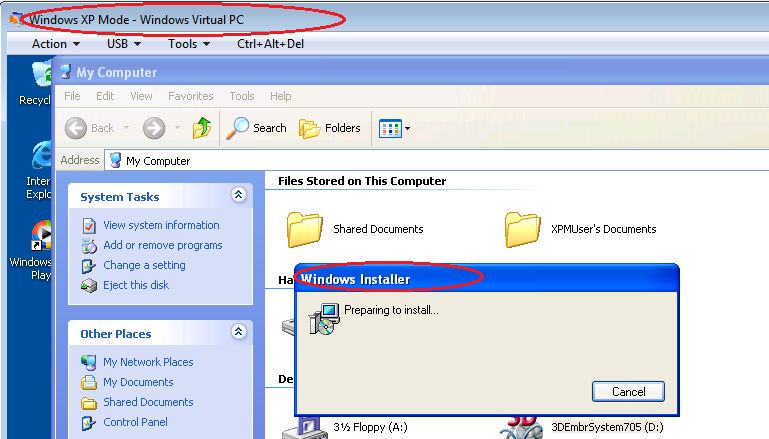
- Continue through the installation wizard.
- Make sure you have all of the necessary updates. I downloaded mine from http://www.vsmsoftware.net/Registration/3D/Updates.htm.
Once that’s done, you’ll need to load the VIP software so you can connect the embroidery machine. Pop in the cd and run it in the virtual XP window. When it gets to the part where you have to insert the dongle, insert it and then at the top of the XP window, click USB and tell it to attach the dongle. It will then run through the auto detection and setup for the dongle. After that finishes, you can finish the installation of the VIP software that was requesting the dongle in the first place.
Install the 3D software the same way. When you connect the USB for the embroidery machine to the computer, you’ll need to go to the USB tab at the top of the XP window again and tell it to attach. Then you’ll be able to get the drivers for the embroidery machine from the 3D software cd.


