This week in the iPad Series, we’ll be talking about apps (and accessories) that you can use with your iPad on vacation. We will consider some of the basic activities that you might expect to have a laptop or other device to do, and we’ll cover why you can get away with just an iPad, a good camera, and possibly your mobile phone. While your iPad can’t take the place of a laptop under normal circumstances, it can get the job done when you’re on vacation.
Work
If you want to get a little work done on vacation, the most important thing to do is to make sure that you’re getting paid to work remotely. If you’re working on an actual paid vacation day, shame on you. You should be flogged. That’s un-European of you. Er, and un-American! However, if you just can’t help yourself, there are tons of great apps to help you get your work done. See the Doing Work On Your iPad article for more information.
If you need to check your secure work email on your personal phone or tablet, you often have to give your company permission to remotely wipe your device. In this case, I recommend that you have a look at the TouchDown app.
TouchDown App - $19.99

TouchDown is developed by Nitro Desk and is likely not your company’s official client. But it’s great if you don’t want to lug your heavy work laptop, mouse, and power brick along on vacation.
TouchDown creates a separate partition on your device (iOS or Android) where your corporate data can be secured and remotely wiped, without affecting your personal data.
It’s a very flexible app, allowing you to control how often it checks for new mail, how far back the calendar is synced, and you have complete control of your notification settings.
iPad Fun
Vacations should be fun! You already know that you can do lots of fun things with your iPad, including the following:
- Communicate with friends and family using apps like Skype
- Watch movies and TV shows on your iPad
- Enjoy other media such as reading books, listening to audiobooks, and listening to podcasts
- Stay social with apps like Facebook and Twitter
- Play games to pass the time
- Use fitness apps to keep off those vacation pounds
Video and Photos
If you pull out old vacation photos of yourself or your parents from 25 years ago, you’ll realize that there weren’t many great photos. Uncle Bob has an album from his trip to Hawaii that has a lot of nature and architecture shots, but most of the photos of people were taken with people posed in front of some landmark. Back in the day, the photographer had a roll of film with a limited number of photos that could be taken. You never wanted to “waste film”. Now things are different. We live in the age of digital photography and videography, and 91% of U.S. adults have a mobile phone.
Taking Video and Photos
What about other cameras? The GoPro, which debuted in 2004, sold 2.3 million cameras in 2012, 3.8 million units in 2013, and 5.2 million in 2014.
GoPro Camera – $329
This camera retails for between $239-$500 and is completely designed for the sports enthusiast. In the waterproof housing (that ships WITH the camera), you can chronicle your SCUBA diving adventures. (Now you understand the featured image in this article, right?)
The GoPro is small, dense but not heavy, and comes with TONS of accessories so that you can mount it on your bike, your helmet, your dive mask, your ski pole, and on and on.
This article isn’t about this camera, but it’s worth mentioning because it’s GREAT for a vacation. Just make sure that you get extra batteries.
Pretty much any camera, including DSLR, point-and-shoot, GoPro, and smartphone can take photos and video, with varying degrees of quality.
Video – If you are capturing any sort of action or fleeting moments, take video instead of photos. You can always turn video into still shots, but if you miss a moment with your camera, that moment is gone. FYI, the GoPro takes better video than photos. On any device, you lose time context-switching between video and photos. If in doubt, take a video. And purchase several video cards.
Photos – For poor lighting or staged situations, you’re usually better off taking photos. Often, cameras have special settings for low-light or bright-light situations.
Getting Video and Photos On Your iPad
Imagine you have around 20 hours of vacation video and 300 photos on a couple of memory cards that you’ll need to go through after you get home. However, after you get home, there’s life – waiting to pounce. You missed an important meeting. You have a week of personal and business emails to catch up on. You could take your laptop to edit videos in your hotel room or the airport. Or you could do it on your iPad.
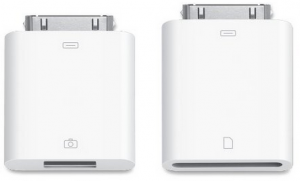
 The easiest way to get your media from your camera to your iPad is to use an adapter.
If you have an older iPad, you will need the 32-pin SD adapter.
I recommend that you either buy the adapter from Apple, or from Amazon – making sure that Apple is the seller. Beware of 3rd-party devices.
The adapter is as simple as taking the SD card (or Micro SD in an adapter) and placing it in the SD card reader, and then plugging that into the iPad. Your iPad will automatically detect that images can be exported and will direct you to choose your media.
If you have a newer iPad that uses the lightning cable charger, you will need the Apple Lightning to SD card reader.
Converting Video to Still Images
You have the most amazing video of your kid/significant other/favorite celebrity and you want to quickly grab a few still images to upload to Facebook from the hotel. Yup. There’s an app for that. We recommend the Video 2 Photo app.
There might be something better and/or cheaper out there. But this app is easy to use and effective.
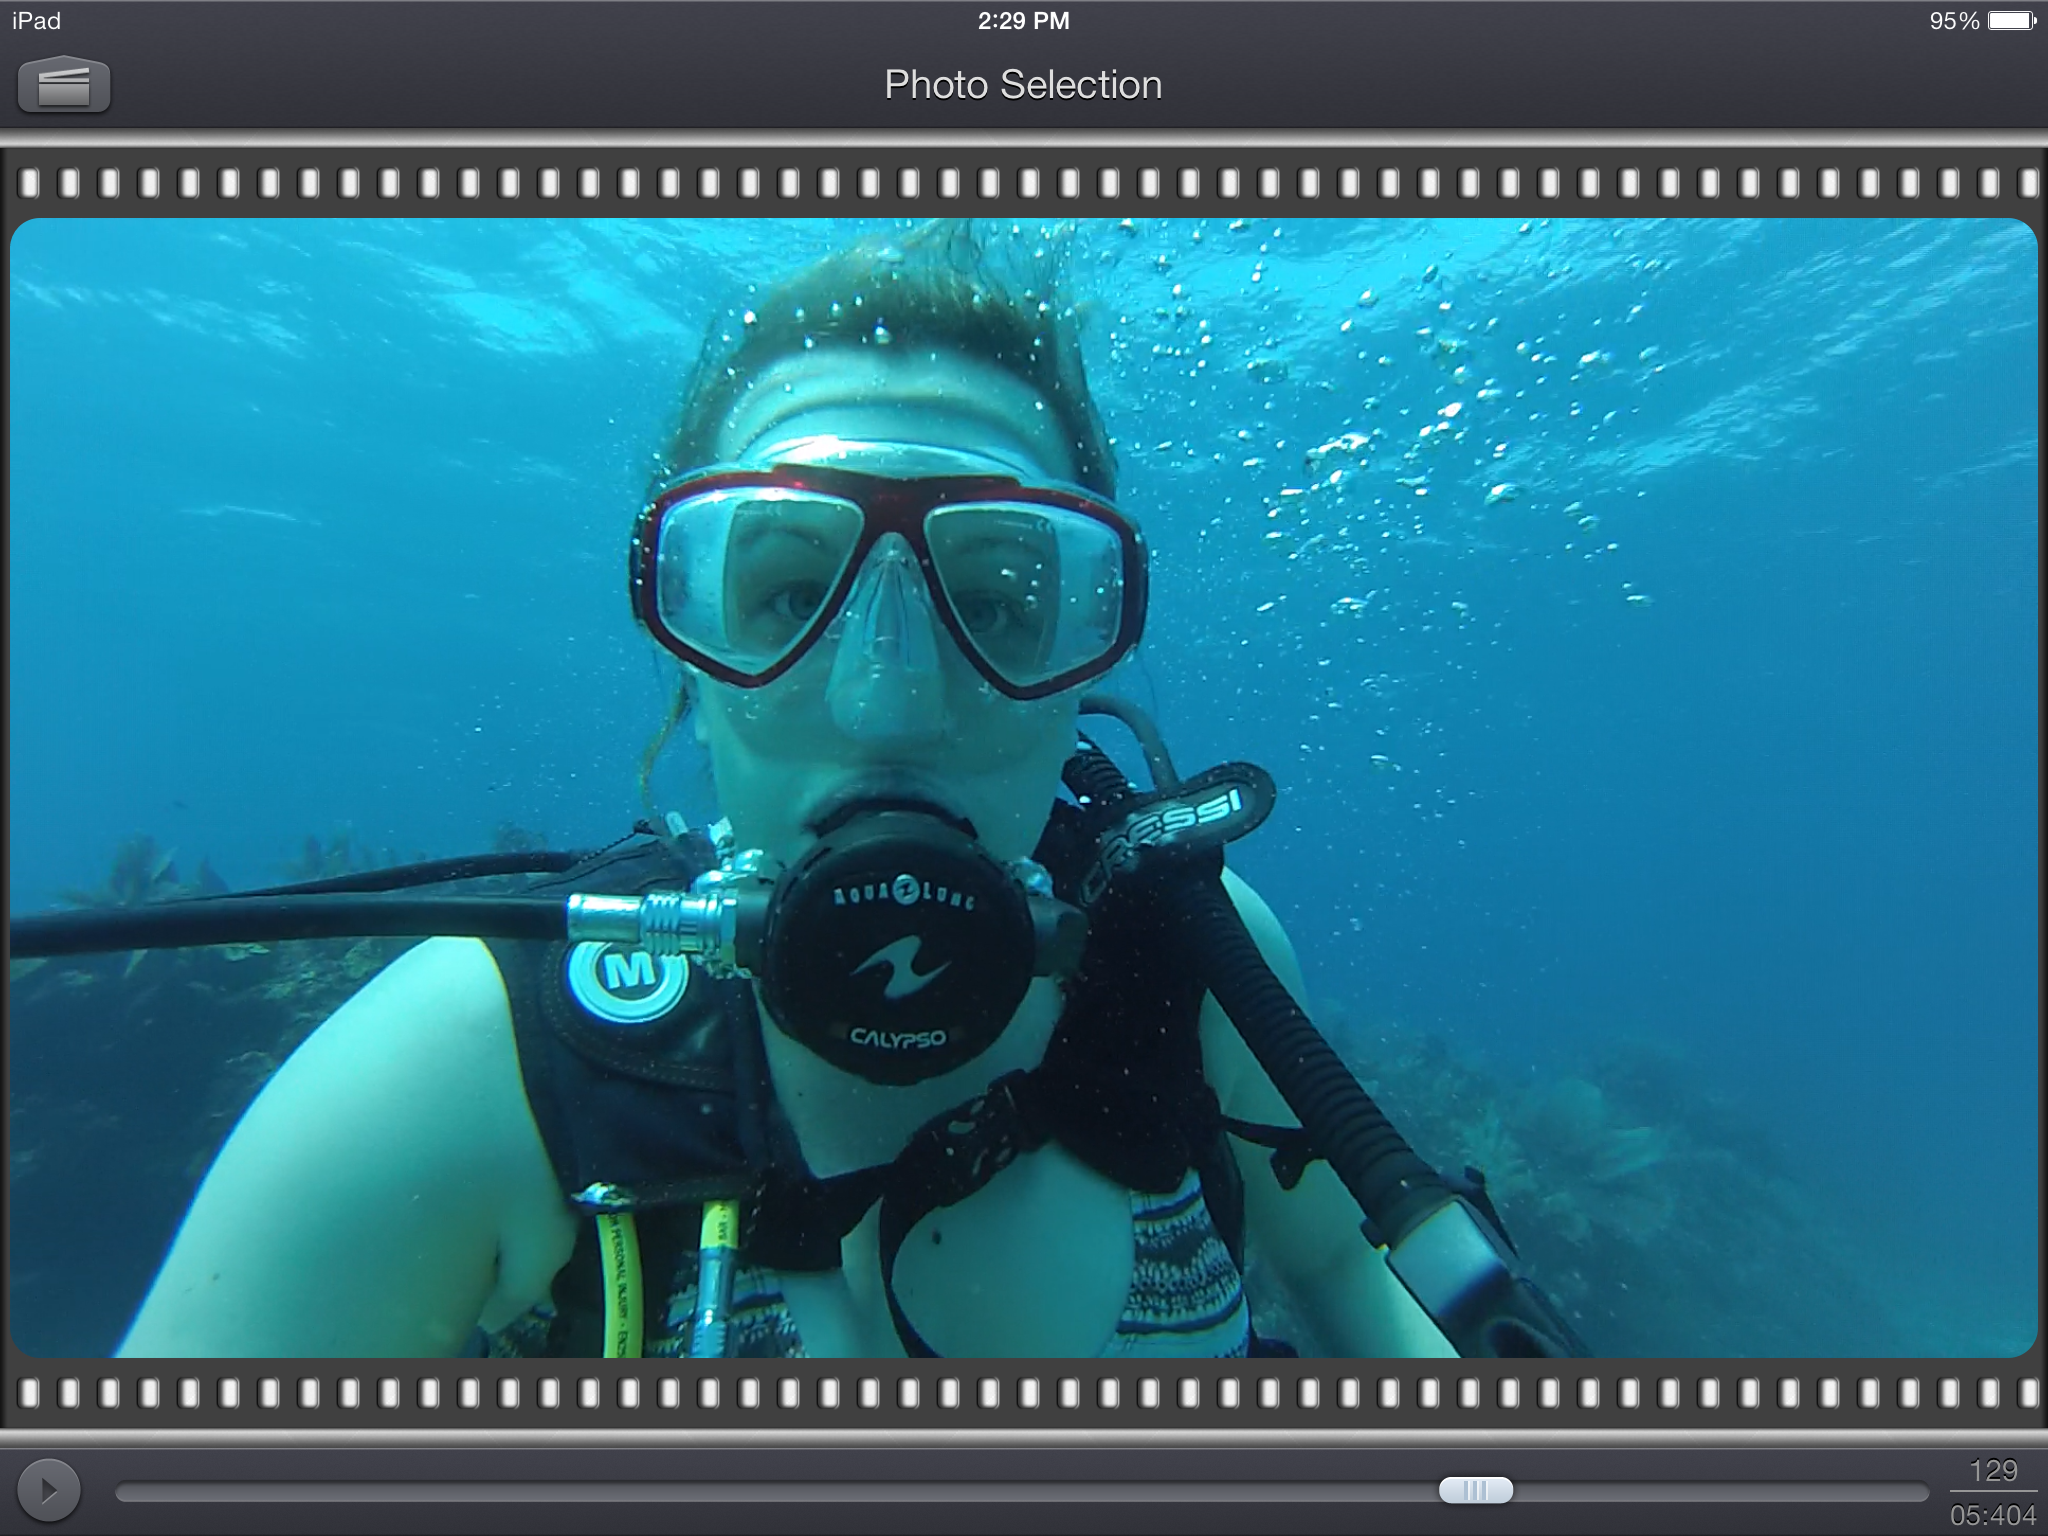
This app is amazingly simple. Open the app, open the video, freeze a frame that you want and tap on it. You do get the option of watching the video and pausing it, scrubbing, or swiping frame-by-frame.
This is what the app looks like when you’re viewing the video:
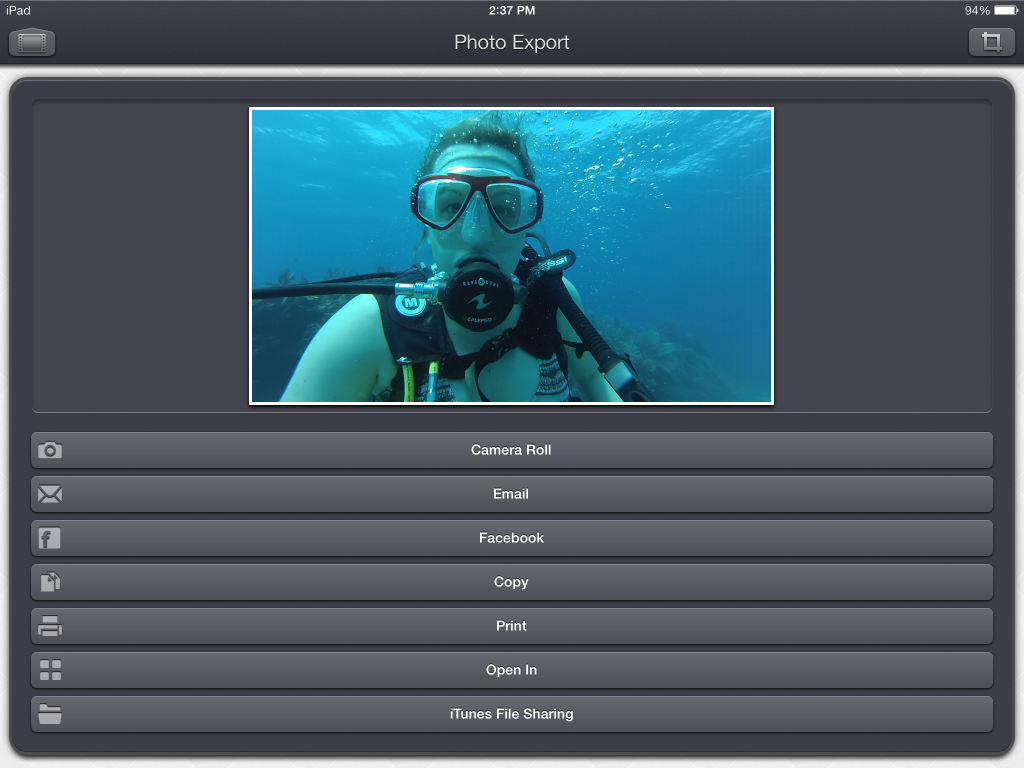
By tapping the screen, you get the image capture menu:
You have lots of options, the easiest of which is to save to the Camera Roll and then share it in the Facebook app rather than using the Facebook button.
Video Editing
This article is not intended to be a tutorial on video editing, but hey – hours spent in a car or airport are more enjoyable and efficient for your doing little video editing.
 We recommend using Pinnacle Studio over using iMovie.
Pinnacle Studio ($12.99)
Pinnacle Studio is a Corel app. If you’re interested in hearing about Pinnacle Studio, check out the following reviews:
To learn more about how to use Pinnacle Studio, you can view this tutorial.
This video was made entirely with the Pinnacle Studio iPad app. After you have completed your video masterpiece, you will have some options to save it. The best option is to save the video to a video file on your iPad and also to Pinnacle Studio for PC if you want to edit it later on your computer.
Be aware that after you save your video file, if you never want to edit it again, you can delete your video files from your iPad. This is handy for working on a daily basis. Keep your original videos on your SD card. However, after the files are deleted, you cannot go back into Pinnacle Studios and edit the file. Not even if you upload the same images. Be certain before you delete.
Photo Editing
Whether you need to remove a stray hair, a pimple, or 5 extra pounds, you might want to edit your photos before you share them or save them. Photoshop Touch is our favorite photo editing app.
Yes, you read that right. PS Touch is $9.99 unless you can catch it on sale, which is unikely. This app was created by the Adobe people and is not just Photoshop for iPad. It was clearly designed from the ground up to be a touch-enabled version of Photoshop.
First, there is an AMAZING set of tutorials that you absolutely must do. These are full-on tutorials that walk you through some pretty complex editing. If you’re a novice, you’ll learn technique. If you’re an experienced Photoshop user, you will learn how to use this app to do things you do differently in Photoshop.
For a full review of several popular photo editing apps, check out my iPad Photos and Video article.
Tips
- If you will keep your devices with you and possibly leave it unattended on a bus/boat or some other form of transportation,get a sturdy, locking tote bag and a locking strap to secure the bag.
- If you plan to leave your iPad or MacBook in your hotel room while you are out, make sure that your hotel has a room safe. Alternately, you can take a bag that you can lock and a locking strap to secure your bag to a stationary object, such as the bed frame.
- Take a backup charger for your iPad. You really don’t want to have to buy one on vacation. And speaking of that, if you’re traveling internationally, take an appropriate converter.
- Have fun – you’re on vacation!


